
Installing a Rain Diverter on Roof
January 2, 2024
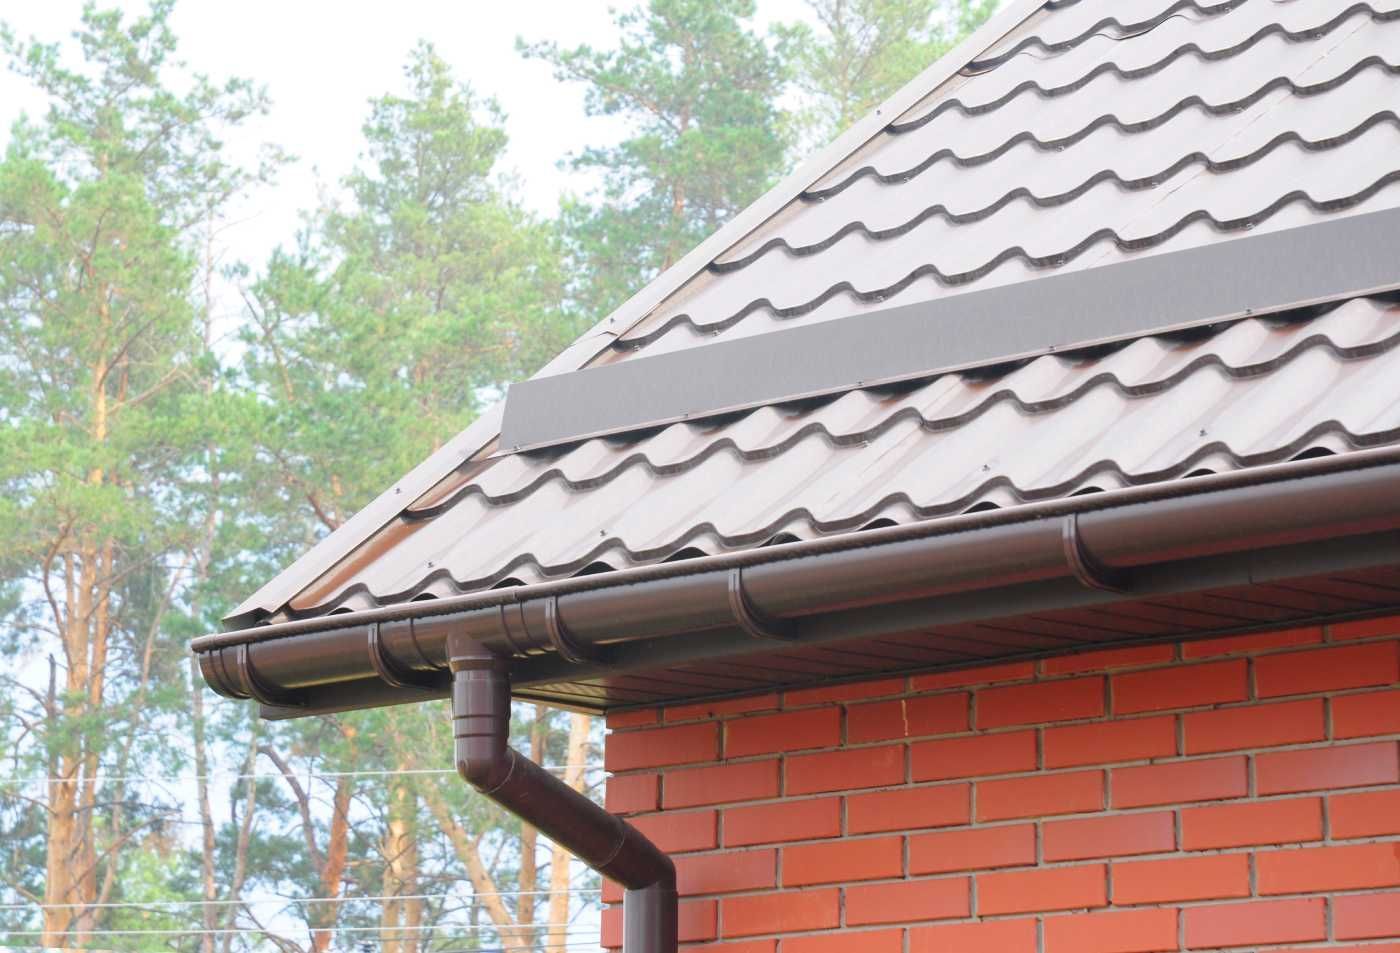 What Is a Rain Diverter?
rain diverter
How Does a Rain Diverter Work?
- Determine the location where you want to divert the rainwater.
- Remove any existing gutters or downspouts in that area.
- Install the rain diverter under the shingles at the edge of the roof.
- Secure the rain diverter with screws or nails.
- Attach a downspout extension to the rain diverter.
- Position the downspout extension to direct the rainwater away from the desired area.
- Ensure that the downspout extension is securely attached.
- Test the rain diverter by running water through it and checking for proper drainage.

What Are the Benefits of Installing a Rain Diverter?
1. Protects Your Home's Foundation
Fun Fact: The concept of rain diverters dates back to ancient civilizations. The Romans used similar systems to protect their buildings from water damage and preserve their foundations.
2. Prevents Soil Erosion
3. Reduces Water Damage
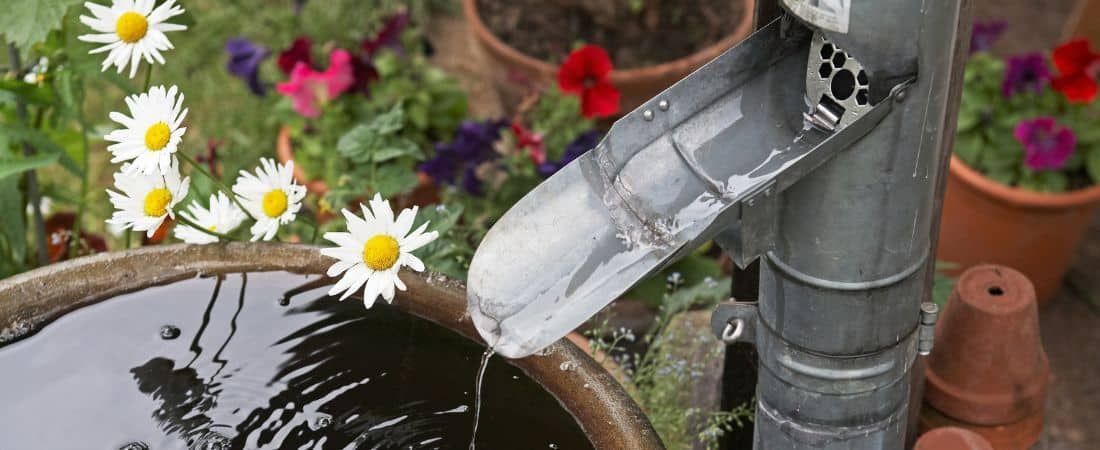
4. Collects Rainwater for Gardening
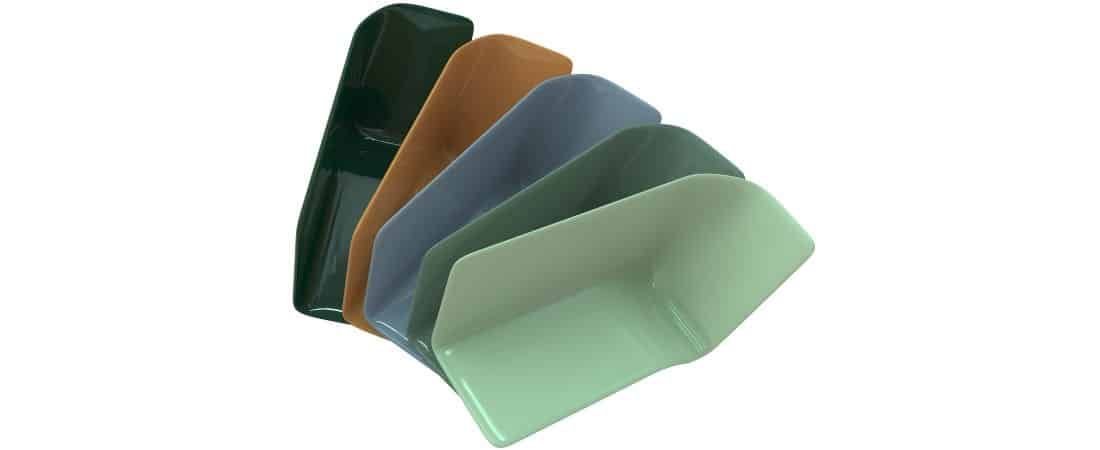
What Are the Different Types of Rain Diverters?
1. Downspout Diverter
- Gather necessary tools and materials: downspout diverter kit, measuring tape, pencil, screwdriver, and screws.
- Choose the right location: Determine where you want to divert the rainwater and mark the spot on the downspout.
- Prepare the roof surface: Clean the area around the downspout and ensure it is free from debris.
- Install the downspout diverter: Follow the instructions provided with the kit to attach the diverter to the downspout.
- Test the diverter and make adjustments: Run water through the downspout to ensure the diverter is properly redirecting the rainwater.
- Regularly check for debris: Remove any leaves, twigs, or other debris that may accumulate in the downspout diverter.
- Clean the diverter annually: Use a hose to flush out any remaining debris and ensure the diverter is clear and unobstructed.
- Inspect for damage and repair as needed: Check for any cracks, leaks, or other damage and fix them promptly to prevent water leakage.
2. Gutter Diverter
- Gather necessary tools and materials, including a ladder, a gutter diverter kit, a measuring tape, a pencil, and a hacksaw.
- Choose the right location for the gutter diverter, ensuring it is positioned to collect the desired amount of rainwater.
- Prepare the roof surface by cleaning the area where the gutter diverter will be installed.
- Install the gutter diverter according to the manufacturer's instructions, ensuring a secure fit.
- Test the gutter diverter by running water through the gutter system and checking for any leaks or issues.
- Regularly check for debris and remove any leaves or debris that may clog the gutter diverter.
- Clean the gutter diverter annually by flushing it with water to remove any built-up sediment or dirt.
- Inspect the gutter diverter for any damage and repair or replace as needed to ensure proper functioning.
3. Roof Diverter
- Gather all necessary tools and materials, such as a ladder, measuring tape, pencil, screws, and a diverter kit.
- Select the best location for the diverter, preferably near a downspout or rain barrel.
- Prepare the roof surface by cleaning it and ensuring it is clear of any debris.
- Carefully install the rain diverter according to the manufacturer's instructions, ensuring it is securely attached to the roof.
- Test the diverter by pouring water on the roof and checking if it effectively diverts the water.
- Regularly check for debris and remove any clogs to ensure proper water flow.
- Clean the diverter annually to prevent buildup of dirt and debris.
- Inspect for any damage or leaks and repair as needed to ensure efficient functioning.
How to install a Rain Diverter on your roof - a deeper dive
1. Gather Necessary Tools and Materials
- Measuring tape: Use it to measure the designated area for the rain diverter installation.
- Saw: Cut the downspout to the desired length.
- Screwdriver: Use it to remove any screws or fasteners that may obstruct the installation.
- Sealant: Apply sealant to ensure a secure and watertight connection between the diverter and the downspout.
- Rain diverter kit: Purchase a rain diverter kit that includes all the essential components, such as the diverter itself, connectors, and mounting hardware.
2. Choose the Right Location
- Assess the water flow: Determine the direction and intensity of water flow during rain.
- Identify potential damage areas: Look for areas susceptible to water damage, such as the foundation, walls, or landscaping.
- Find the perfect spot: Select a location where the rain diverter can redirect water away from these vulnerable areas.
- Consider aesthetics: Make sure the rain diverter's placement complements the overall appearance of your home.
- Check for obstructions: Ensure that there are no obstructions, such as tree branches or overhangs, that could hinder the functionality of the rain diverter.
- Measure and mark: Use precise measurements to mark the exact location for installing the rain diverter.
3. Prepare the Roof Surface
- Clean the roof surface: Remove any debris or dirt from the area where the rain diverter will be installed.
- Inspect for damage: Check for any existing damage or weak spots on the roof. Repair or reinforce these areas before proceeding.
- Ensure a level surface: Confirm that the area where the rain diverter will be placed is level. Use a level tool to check and make any necessary adjustments.
- Apply sealant: Use roof sealant to create a watertight seal around the edges of the installation area. This will prevent leaks and ensure a secure installation.
- Allow the sealant to dry: Follow the manufacturer's instructions for the specific sealant used and allow it to dry completely before proceeding with the installation of the rain diverter.
4. Install the Rain Diverter
- Gather necessary tools and materials, including a rain diverter kit, measuring tape, pencil, drill, screws, and silicone sealant.
- Choose the right location for the rain diverter, ensuring it is positioned below the roofline and near a downspout.
- Prepare the roof surface by cleaning it and removing any debris or obstructions.
- Follow the manufacturer's instructions to properly install the rain diverter. This typically involves cutting a section of the gutter, attaching the diverter, and sealing it with silicone to prevent leaks.
- Test the diverter by running water through it and checking for proper drainage and redirection.
5. Test the Diverter and Make Adjustments
- Connect a hose to the outlet of the diverter.
- Position the other end of the hose in the desired location, such as a rain barrel or a specific area in your garden.
- Turn on the water supply to simulate rainfall.
- Observe the flow of water from the diverter to ensure it is directed correctly.
- If there are any leaks or misdirected water, adjust the position or angle of the diverter as needed.
- Ensure that the water is flowing smoothly into the desired location without any splashing or excess runoff.
- Once you are satisfied with the performance of the diverter, turn off the water supply and disconnect the hose.
 How to Maintain and Clean a Rain Diverter
1. Regularly Check for Debris
- Inspect the rain diverter for any leaves, twigs, or other debris that may have accumulated.
- Remove any debris by hand or using a small brush or broom.
- Check the downspout for any blockages or clogs and clear them if necessary.
- Rinse the rain diverter with water to ensure it is clean and free from any remaining debris.
- Repeat this process regularly, especially after heavy rain or storms, to prevent any potential blockages or damage to the rain diverter.
2. Clean the Diverter Annually
- Gather all necessary tools and materials, including a ladder, gloves, a hose, and a bucket.
- Remove any debris, such as leaves, twigs, or dirt, from the rain diverter.
- Use a hose to flush out any remaining dirt or debris from the diverter.
- Inspect the diverter for any signs of damage or wear, such as cracks or leaks.
- If needed, repair or replace any damaged parts of the rain diverter.
- Test the diverter by allowing water to flow through it and ensuring proper functioning.
- Make any necessary adjustments to ensure the diverter is working correctly.
3. Inspect for Damage and Repair as Needed
- Regularly check for debris: Remove leaves, twigs, and other debris that may accumulate in the rain diverter to prevent clogs.
- Clean the diverter annually: Use a mild detergent and water to clean the diverter, ensuring that it is free from dirt and grime.
- Inspect for damage: Look for any signs of wear and tear, such as cracks, leaks, or loose parts. Address these issues promptly.
- Repair as needed: Depending on the type of damage, repair the rain diverter by sealing cracks, replacing damaged parts, or tightening loose connections.
Frequently Asked Questions
What is a rain diverter on roof?
Why would I need a rain diverter on my roof?
How does a rain diverter work?
Can I install a rain diverter on my own?
Are there different types of rain diverters?
How do I maintain a rain diverter on my roof?
Sedona New Year roof checkup: quick signs to spot, what to notice inside, and when to book a professional roof inspection.
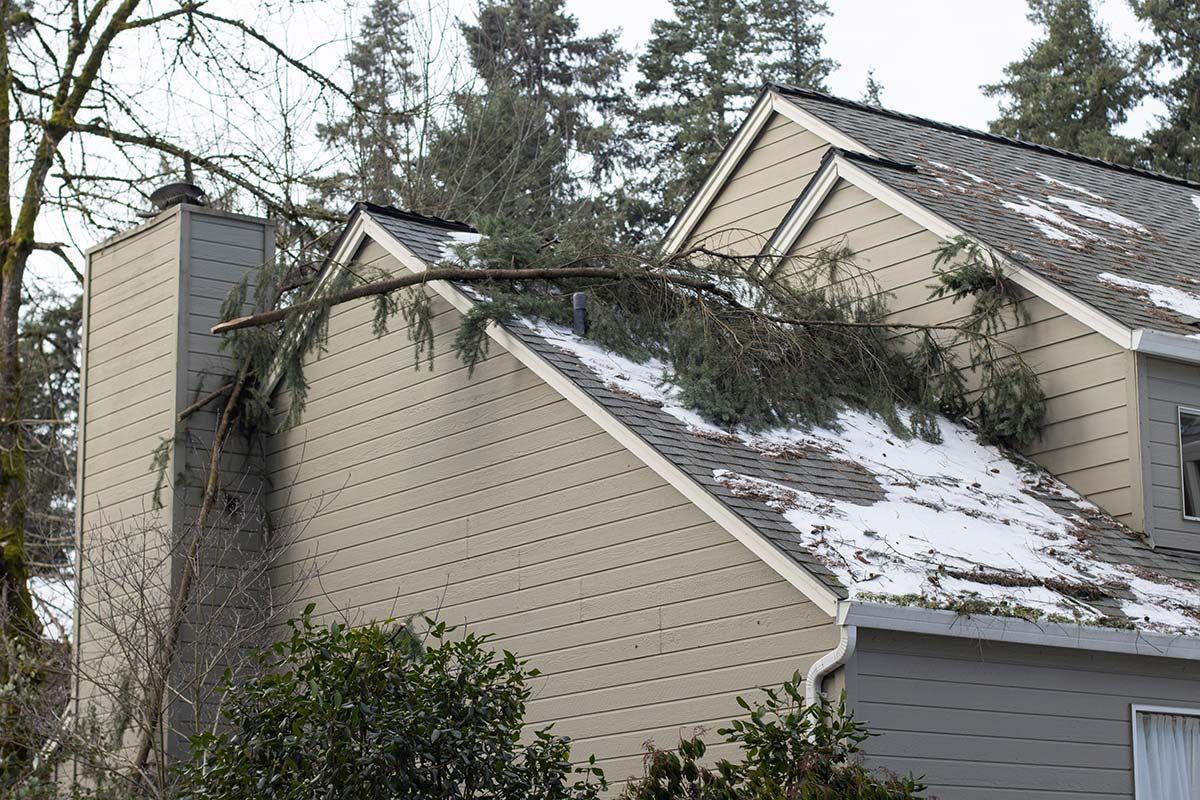
Holiday weather has a way of showing up at the worst time. People are traveling. Family is in town. The house is busy. And if your roof has a weak spot, that’s when you notice it. Most winter roof lea…
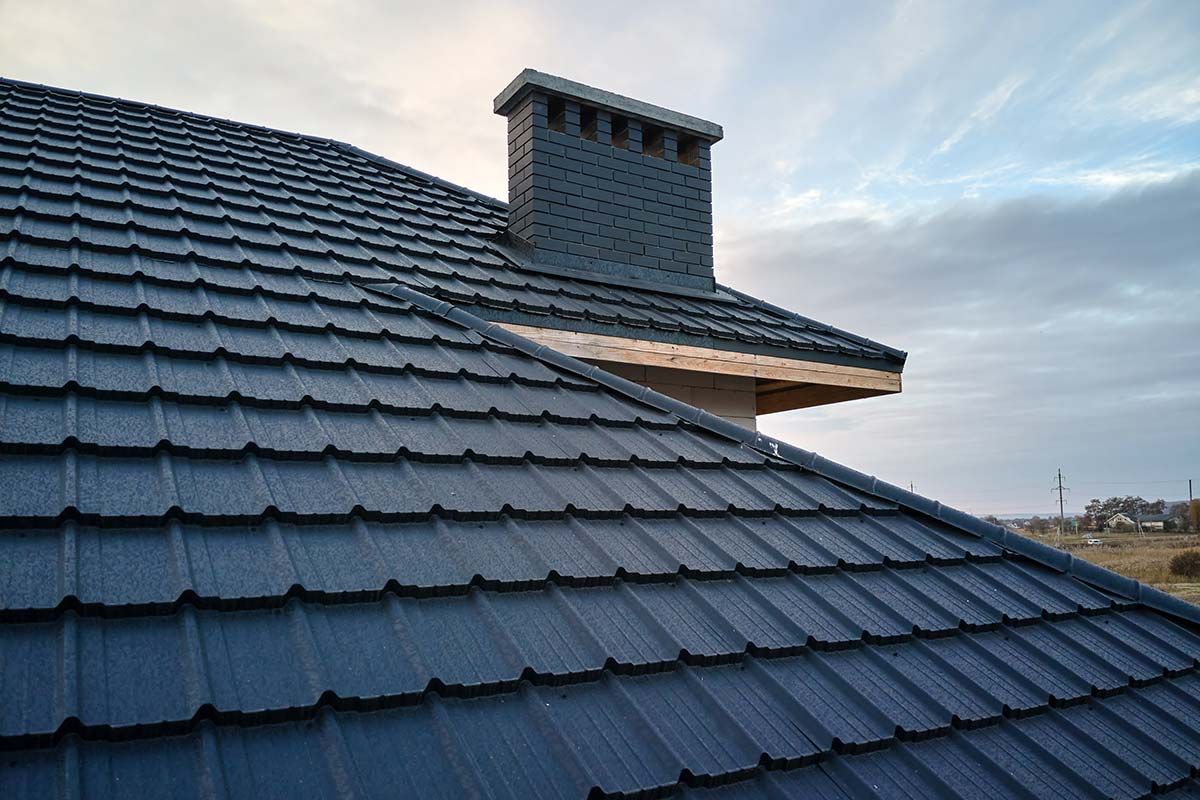
A metal shingle roof is a metal roof that goes on in small pieces, not long panels. The shingles overlap as they’re installed, and many systems are made to lock together so the surface stays tight in …

Winter in the Verde Valley isn’t “snow country,” but it’s also not Phoenix. We get cold nights, the occasional dusting, and quick weather swings. Sedona sits up around 4,500–4,800 feet, so freeze-thaw…
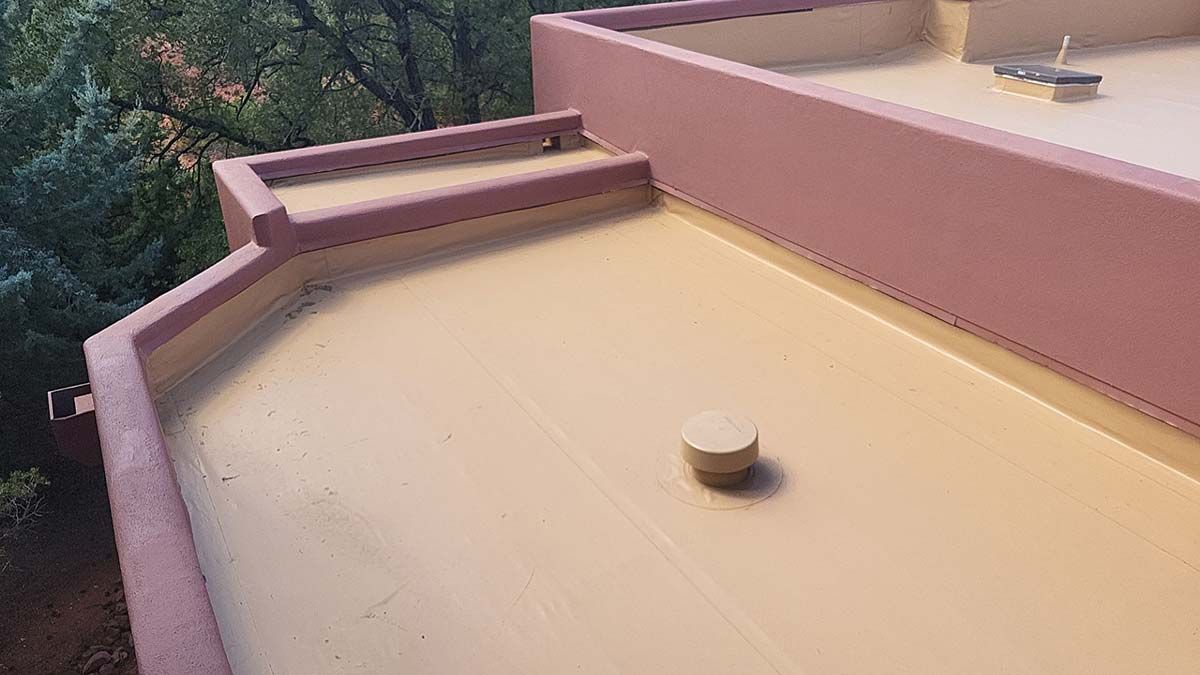
Flat roofs do well in Arizona, but winter is when small drainage issues turn into real headaches. It is rarely one big event. It is usually a slow backup at a scupper. A drain that runs fine until lea…
Winter roof preparation: roof maintenance, gutter repair, shingle check and leak prevention for Arizona homes ready for the winter months.
Fall roof maintenance tips for Cottonwood, Arizona homeowners—inspect, clean, and prepare your roof before winter rain and cold set in.
Discover how metal roofs handle Arizona’s extreme heat, monsoons, and hail. Learn why metal roofing is the best choice for homes in Sedona, Prescott, and Cottonwood.
Get your roof ready for autumn in Cottonwood with these expert fall roofing tips. Learn about inspections, debris clearing, attic ventilation, and more!

Wondering if a metal roof is worth it? Compare metal roofs vs. asphalt shingles for Arizona homes, including costs, durability, energy efficiency, and maintenance.