
The Anatomy of a Roof
January 8, 2024
What Is a Roof?
What Are the Different Parts of a Roof?
1. Roof Deck
- Measure and mark the dimensions of the roof deck.
- Clean the surface of any debris or existing roofing material.
- Apply a layer of underlayment to create a moisture barrier.
- Secure the roof deck with nails or screws, ensuring it is properly aligned.
- Inspect the deck for any damage or defects before proceeding with the roofing material installation.
2. Underlayment
- Clean the roof: Remove any debris or dirt from the roof surface.
- Inspect for damage: Check for any damaged areas that need repair before installing the underlayment.
- Measure and cut: Measure the dimensions of the roof and cut the underlayment material accordingly.
- Start at the bottom: Begin at the bottom edge of the roof and lay the underlayment horizontally.
- Secure the underlayment: Use nails or staples to securely fasten the underlayment to the roof deck.
- Overlap seams: Overlap the edges of each underlayment section to create a watertight seal.
- Continue layering: Repeat the process, adding additional layers of underlayment until the entire roof is covered.
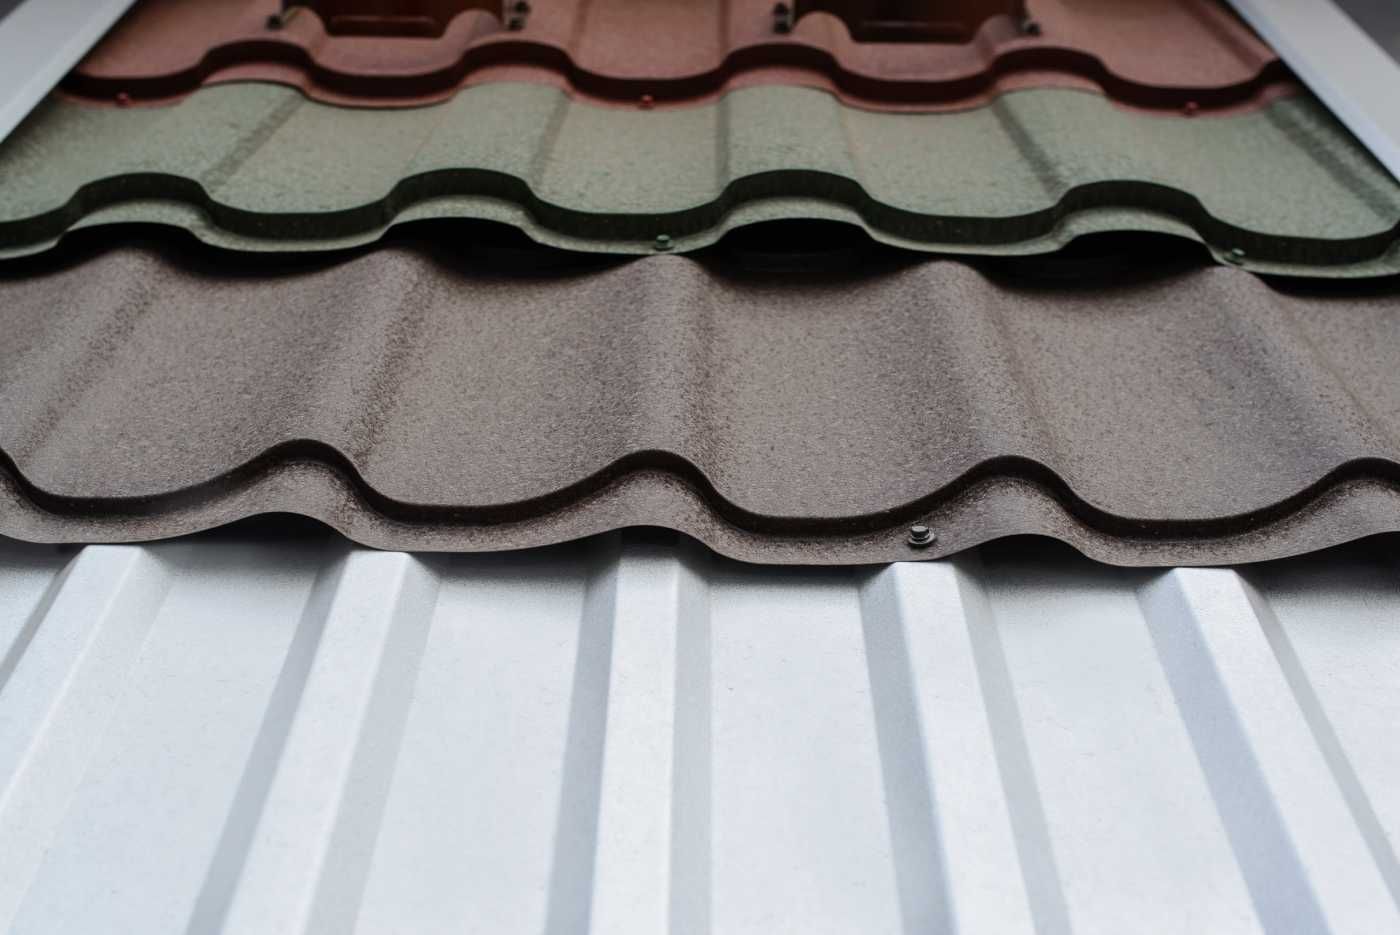
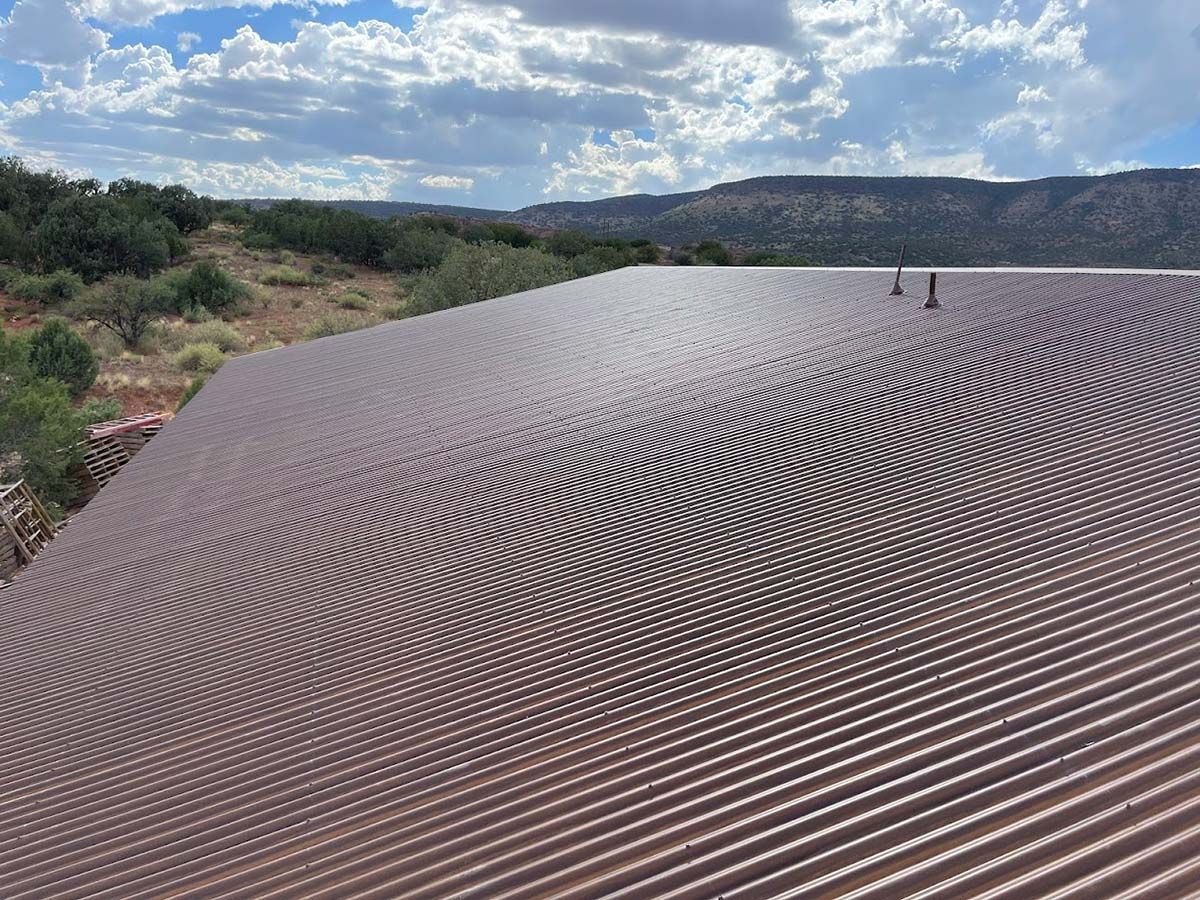
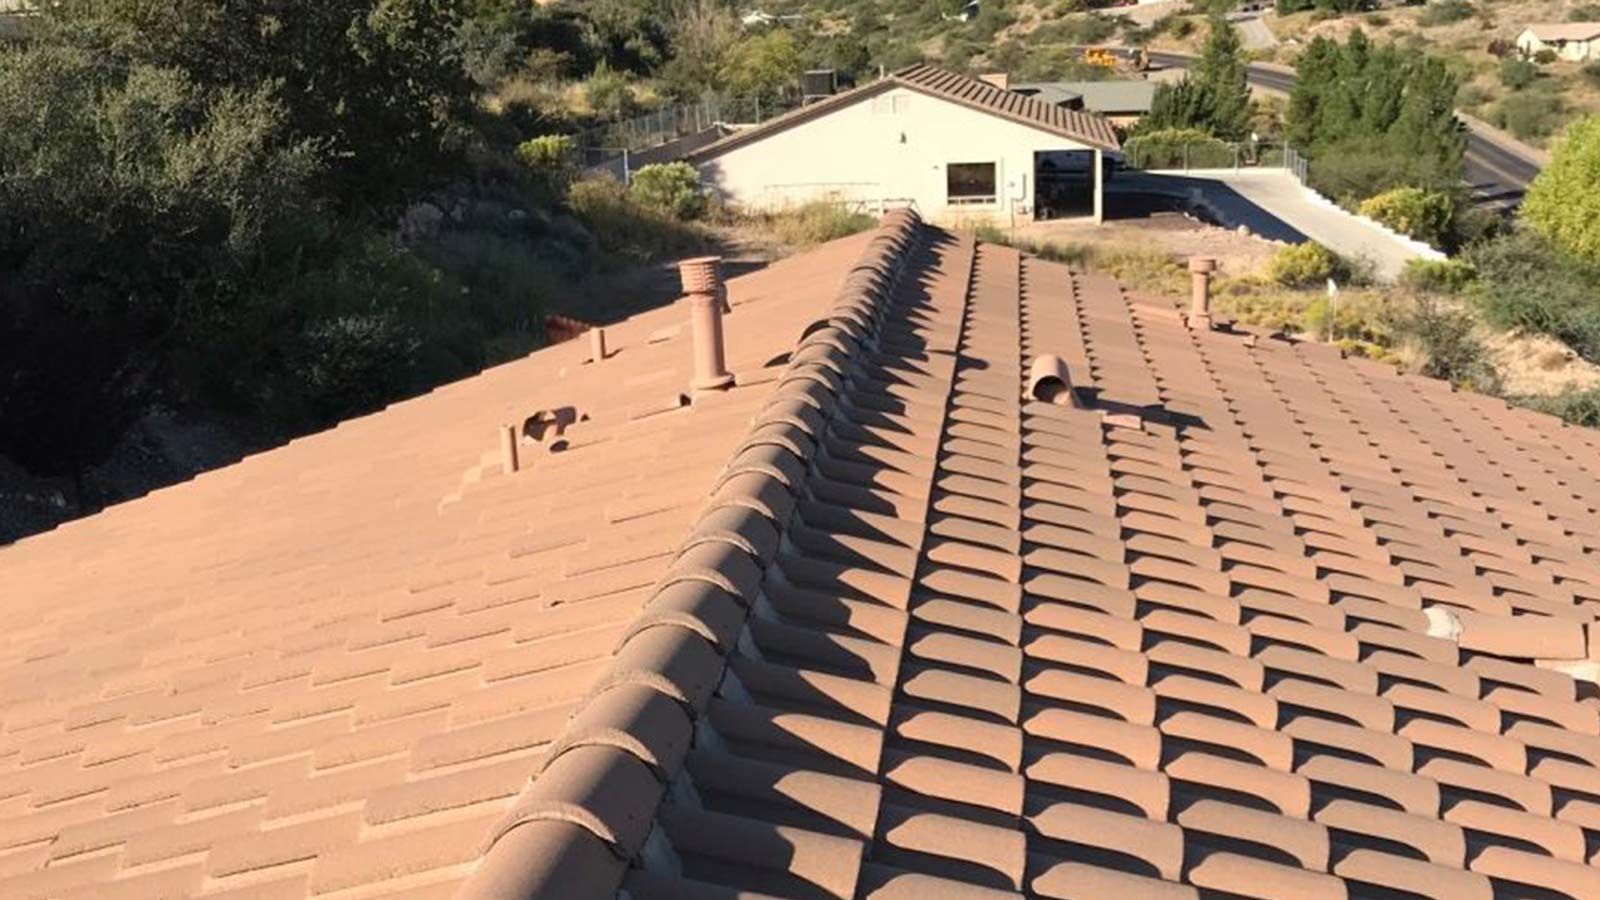
3. Roofing Material
- Climate: It is essential to choose a material that can withstand the weather conditions in your specific area.
- Budget: Determine your budget beforehand to help narrow down your options for roofing materials.
- Aesthetics: Consider the appearance of the material and how it will enhance the overall look of your home.
- Durability: It is important to select a material that is durable and can withstand potential damage.
- Maintenance: Think about the upkeep required for each type of material before making a decision.
asphalt shingles, metal, tile, and wood
4. Flashing
- Inspect the current flashing for any signs of damage or deterioration.
- Thoroughly clean the designated area where the flashing will be installed, removing any debris or old sealant.
- Accurately measure and cut the flashing material to fit the designated area.
- Apply a layer of roofing sealant to the underside of the flashing.
- Secure the flashing to the roof using high-quality roofing nails or screws.
- Apply another layer of sealant over the top of the flashing to create a strong and watertight seal.
5. Gutters and Downspouts
- Measure and plan the gutter system, ensuring proper alignment and slope.
- Secure the gutter brackets to the fascia board, allowing for a slight downward slope.
- Attach gutter sections, connecting them with gutter connectors or sealant.
- Install end caps to prevent water from escaping at the ends of the gutters.
- Position downspouts at strategic locations along the gutters.
- Attach downspout brackets and secure the downspout to the brackets.
- Extend the downspout away from the foundation using downspout extensions.
 What Are the Different Types of Roofs?
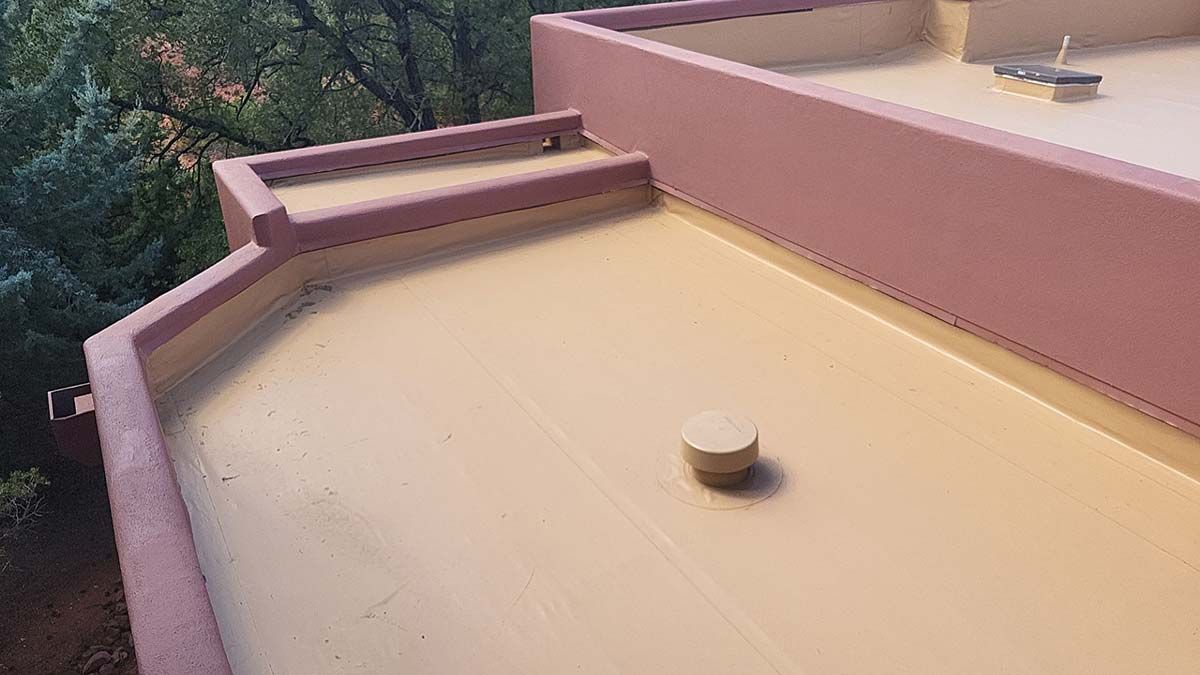
1. Flat Roof
- Prepare the roof deck by ensuring it is clean, dry, and free of any debris.
- Install a waterproof underlayment to provide an additional layer of protection against water infiltration.
- Lay down the roofing material, which can be single-ply membranes, built-up roofing, or modified bitumen.
- Add flashing around any roof penetrations or edges to prevent water from seeping into the structure.
- Install gutters and downspouts to ensure proper drainage and prevent water pooling on the roof.
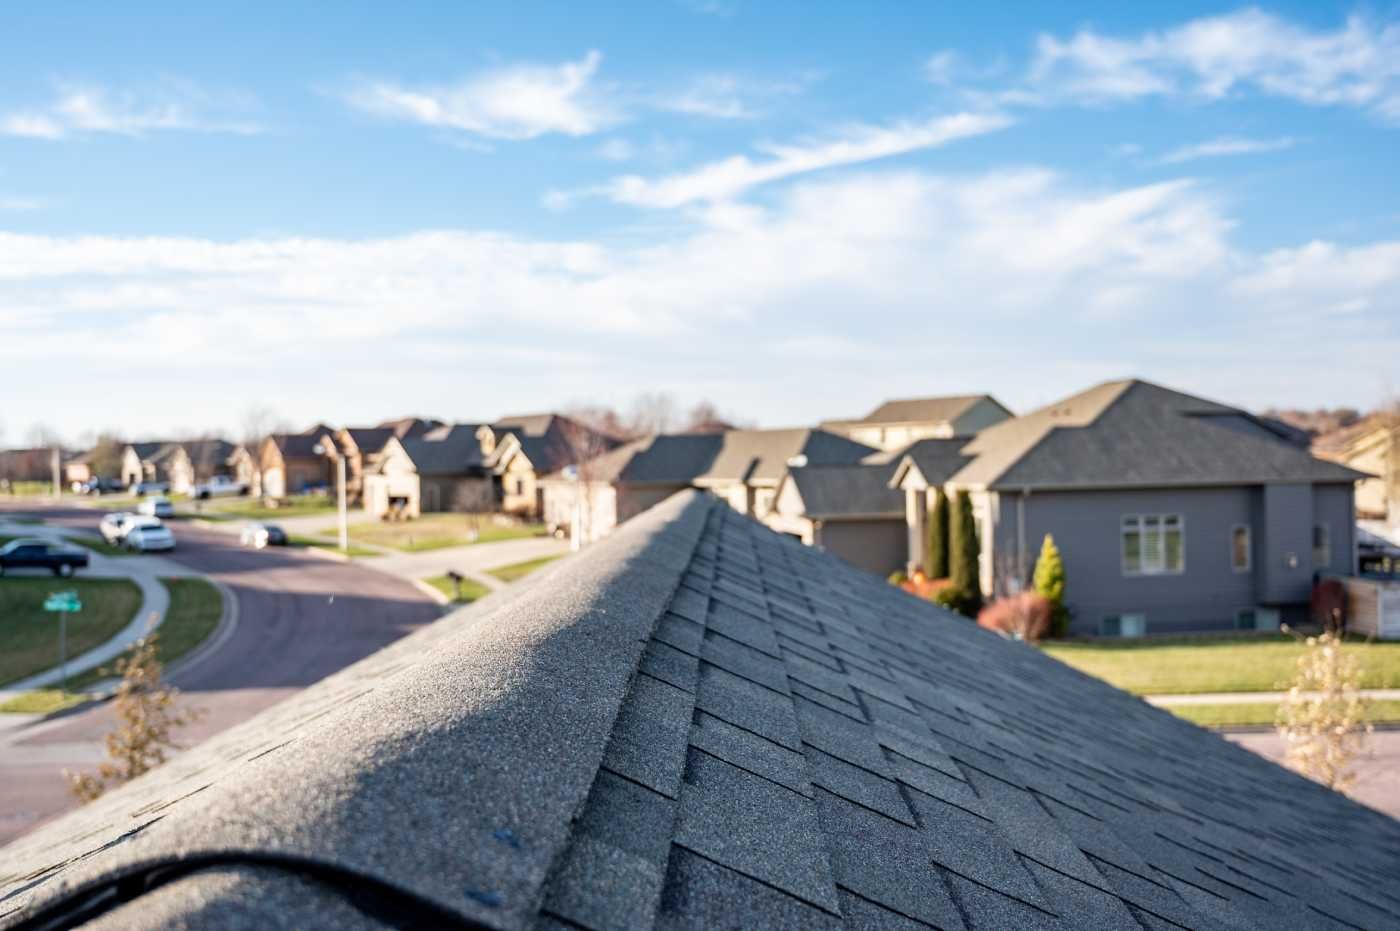
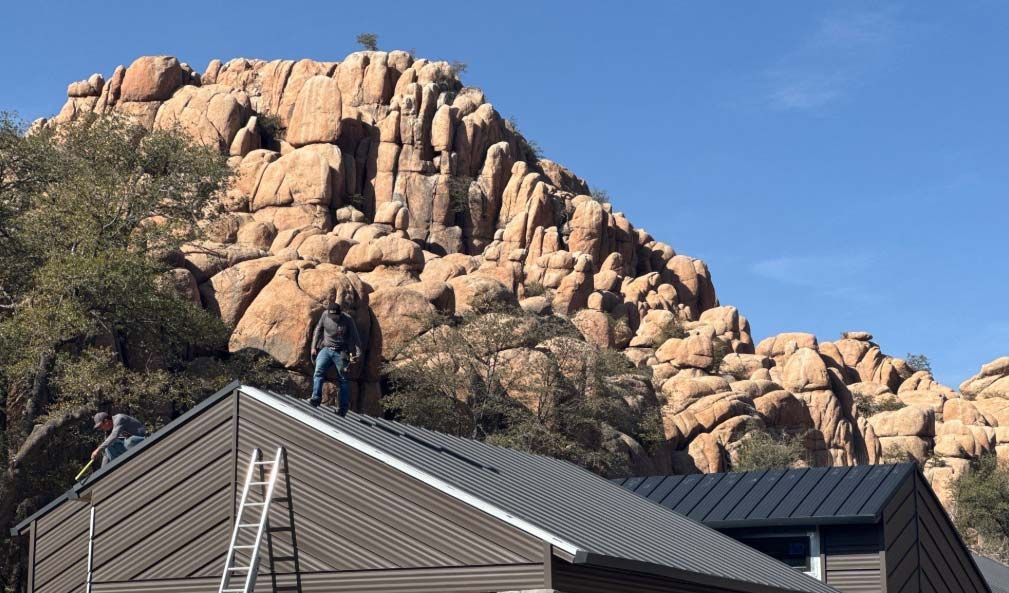
2. Gable Roof
- Create the roof frame by installing the ridge beam and rafters.
- Attach the roof sheathing to provide a sturdy base.
- Add roof underlayment to provide a waterproof barrier.
- Install the desired roofing material, such as shingles or metal panels.
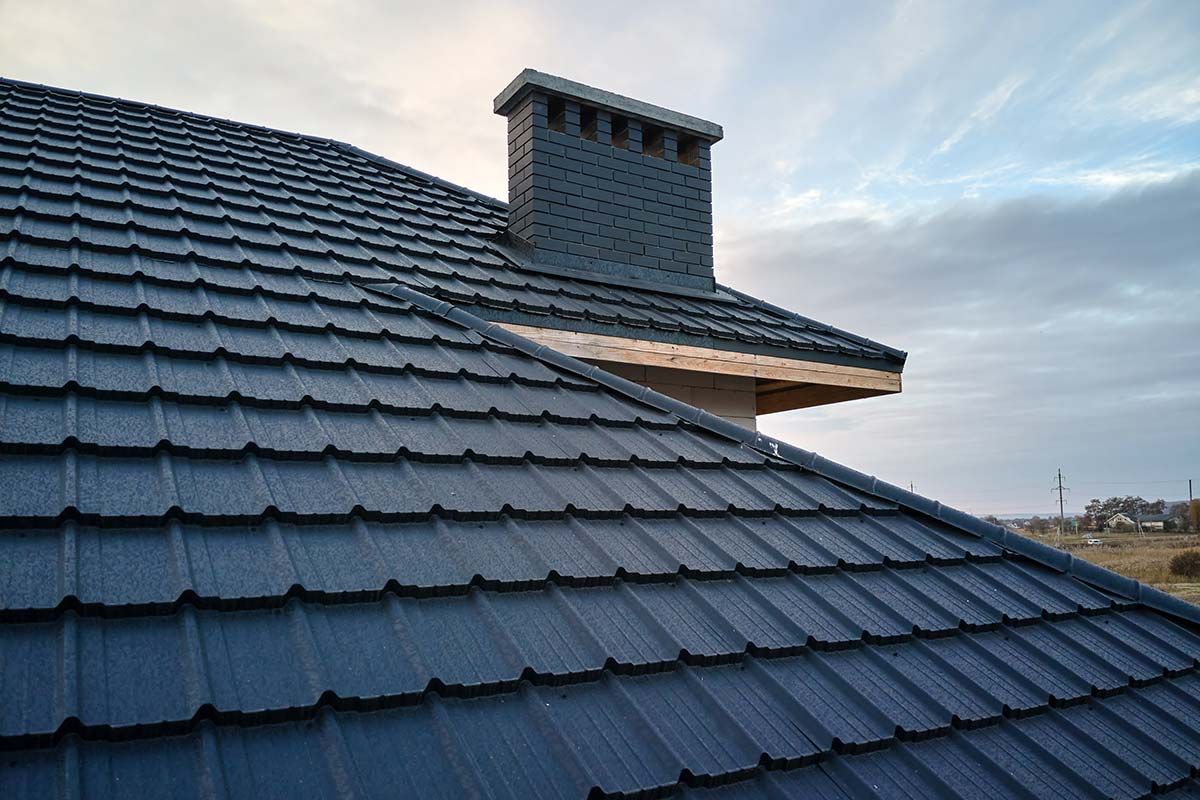
- Add flashing around any roof penetrations, such as chimneys or vents, to prevent water leakage.
- Efficiently channel rainwater away from the roof by installing gutters and downspouts.
3. Hip Roof
step-by-step guide
- Start by preparing the roof deck, ensuring it is structurally sound and free from any damage.
- Install underlayment, such as roofing felt or synthetic underlayment, to provide an additional layer of protection against moisture.
- Next, lay down the roofing material, which can be asphalt shingles, metal sheets, or tiles, following the manufacturer's instructions.
- Add flashing around the edges, valleys, and penetrations of the roof to prevent water infiltration.
- Install gutters and downspouts to divert rainwater away from the roof and foundation of the building.
4. Mansard Roof
Mansard roof
5. Gambrel Roof
- Prepare the roof deck by ensuring it is clean and free of any debris or damage.
- Install underlayment to provide an extra layer of protection against moisture and harsh weather conditions.
- Lay down the desired roofing material, such as shingles or metal panels, starting from the bottom and working your way up the roof.
- Add flashing to seal any gaps and prevent water from penetrating the roof.
- Install gutters and downspouts to effectively channel rainwater away from the roof and foundation of the building.
6. Shed Roof
- Measure and determine the desired slope of the roof.
- Calculate the size and angle of the roof rafters.
- Cut and install the roof rafters, making sure they are evenly spaced.
- Add blocking and braces for additional support.
- Install roof sheathing or decking over the rafters.
- Apply an underlayment to create a waterproof barrier.
- Install the chosen roofing material, such as shingles or metal panels.
 What Are the Factors to Consider When Choosing a Roofing Material?
1. Climate
- Research climate patterns and weather extremes in your region.
- Consult with roofing professionals who have experience in your specific climate.
- Choose materials that are resistant to UV rays, heat, cold, wind, and precipitation.
- Consider insulation and energy efficiency to regulate indoor temperatures.
- Maintain proper ventilation to prevent moisture buildup.
2. Budget
- Research: Explore the costs of different roofing materials.
- Set a budget: Determine the maximum amount you're willing to spend.
- Consider long-term costs: Evaluate the durability and maintenance requirements of each material.
- Get multiple quotes: Request quotes from various roofing contractors to compare prices.
- Look for financing options: If needed, explore financing options to help manage the costs.
3. Aesthetics
- Color: Choose a roofing material that matches or enhances the color scheme of your house.
- Texture: Consider the texture of the roofing material, whether you prefer a smooth or textured appearance.
- Style: Determine the architectural style of your home and select a roof design that aligns with it, such as a gable roof for a traditional look or a flat roof for a modern aesthetic.
- Visual Appeal: Assess the visual impact of the roof from different angles and how it integrates with other elements of your home's exterior.
4. Durability
metal
slate
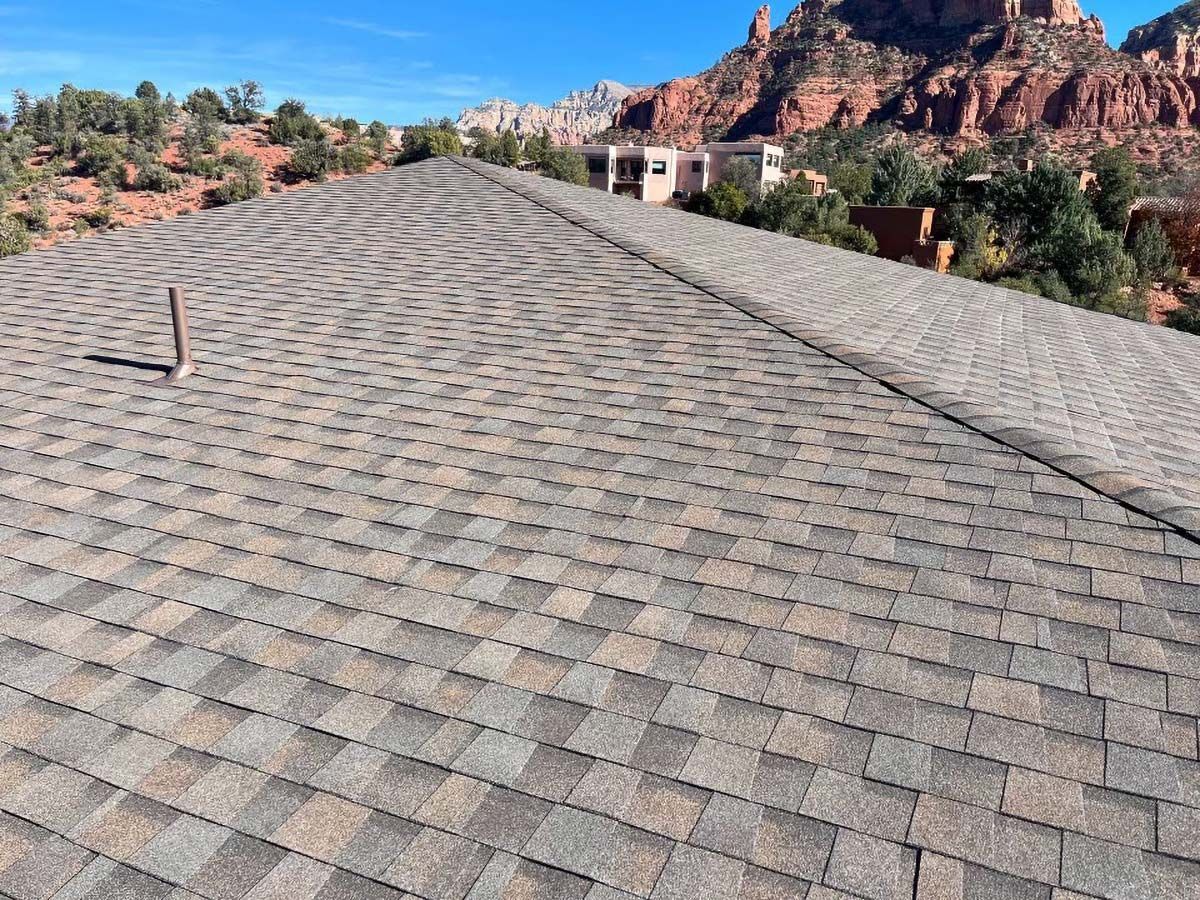
asphalt shingles
5. Maintenance
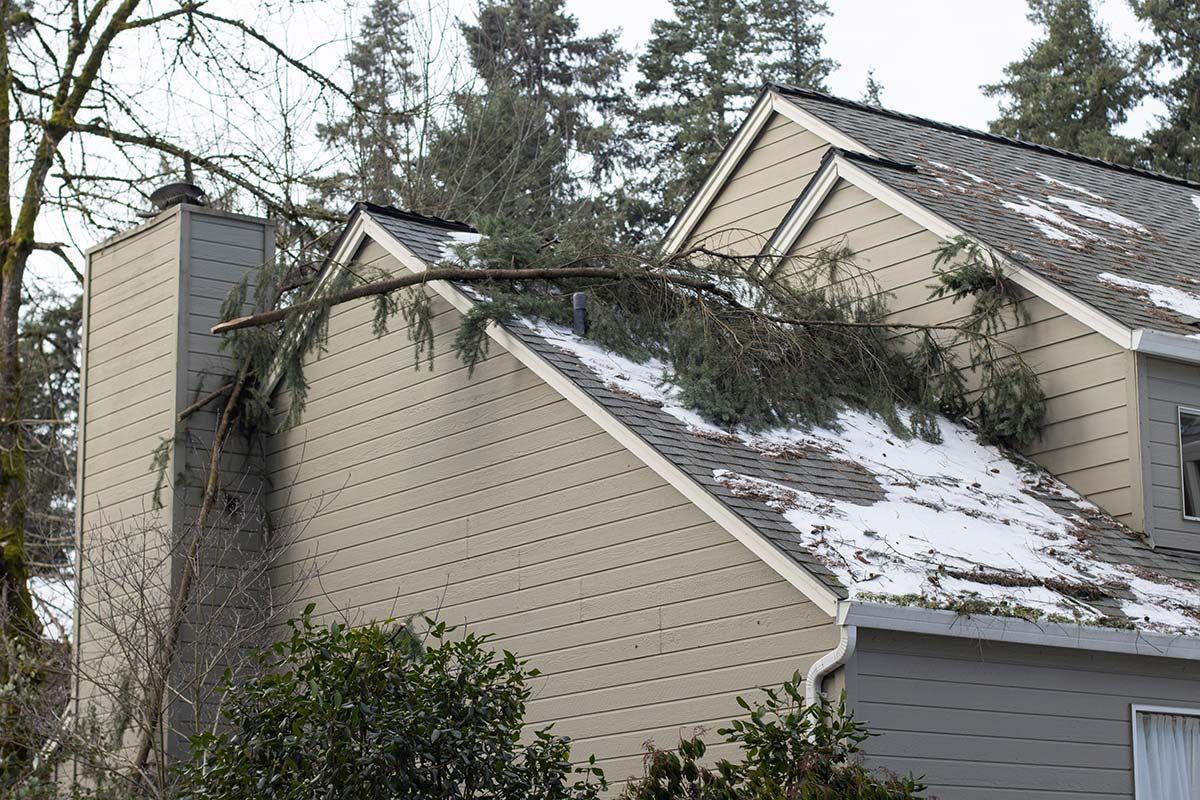
- Inspect the roof regularly for any visible damage, such as cracked or missing shingles, leaks, or sagging areas.
- Clean the roof and remove any debris, leaves, or branches that can trap moisture and cause damage.
- Clear the gutters and downspouts to prevent water buildup and ensure proper drainage.
- Trim overhanging tree branches to prevent them from rubbing against the roof and causing damage.
- Consider hiring a professional roofing contractor for an annual inspection and maintenance to address any potential issues.
 How Is a Roof Installed?
1. Preparing the Roof Deck
- Clean the surface: Remove any debris, old roofing materials, or loose nails from the roof deck.
- Repair any damage: Inspect the roof deck for any indications of rot, water damage, or structural issues. Make necessary repairs to ensure a sturdy foundation.
- Install insulation: Depending on the climate, it may be necessary to add insulation to the roof deck to improve energy efficiency.
- Apply a vapor barrier: Install a vapor barrier to prevent moisture buildup and protect the roof deck from condensation.
- Ensure proper ventilation: Install vents or other ventilation systems to promote airflow and prevent heat and moisture buildup in the attic.
2. Installing Underlayment
installing underlayment
- Clean the roof deck to ensure a smooth surface.
- Measure and cut the underlayment material to fit the roof dimensions.
- Start at one edge of the roof and roll out the underlayment, ensuring it overlaps the edge by a few inches.
- Secure the underlayment by nailing or stapling it to the roof deck.
- Continue rolling out and securing the underlayment, working your way up the roof.
- Overlap adjacent sheets of underlayment by the recommended amount to create a watertight seal.
- Trim excess underlayment using a utility knife.
install underlayment
3. Laying Down Roofing Material
- Prepare the roof deck by ensuring it is clean, dry, and free of debris.
- Roll out and install the underlayment, which acts as a moisture barrier and provides added protection.
- Begin the process of laying down the roofing material from the bottom edge of the roof, making sure to overlap each row for adequate coverage.
- Secure the roofing material using nails or adhesive, following the guidelines provided by the manufacturer.
- Cut and shape the material to fit around any roof features, such as vents or chimneys, to ensure a proper fit.
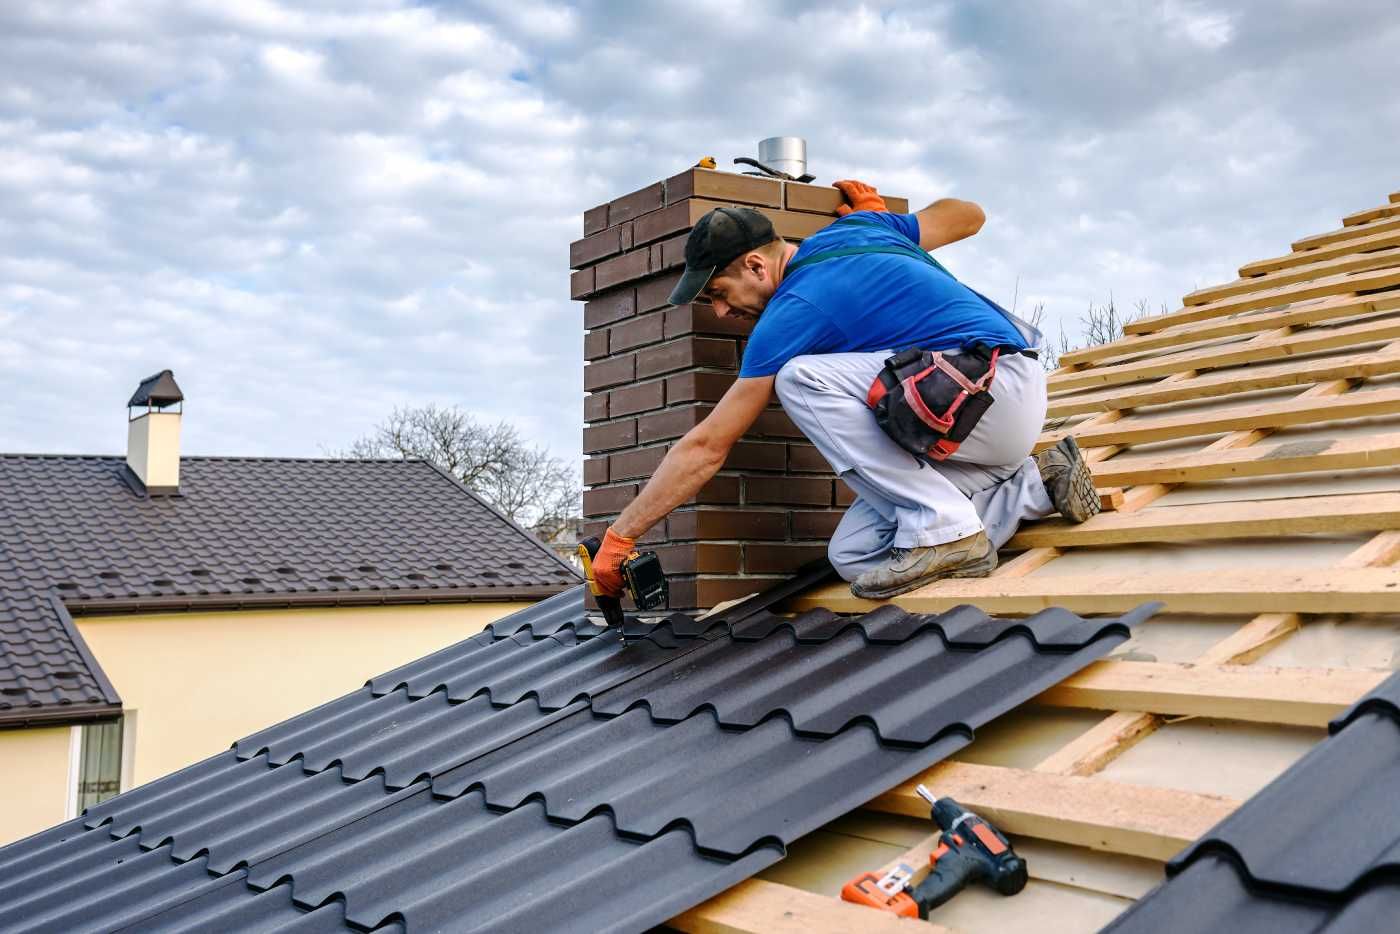
4. Adding Flashing
- Clean the designated area where the flashing will be installed.
- Measure and cut the flashing material to the appropriate size.
- Position the flashing over the vulnerable area, ensuring it overlaps the adjacent roofing material.
- Secure the flashing in place using roofing nails or screws.
- Apply roofing cement or sealant around the edges of the flashing to create a watertight seal.
5. Installing Gutters and Downspouts
- Measure and plan: Begin by determining the appropriate length and placement of gutters and downspouts based on the dimensions of the roof and its water runoff.
- Attach fascia brackets: Secure brackets along the fascia board to provide strong support for the gutters.
- Install gutter sections: Connect the gutter sections, ensuring a tight fit and proper alignment.
- Add downspouts: Attach downspouts to the gutters, directing water away from the foundation to prevent any potential damage.
- Secure and seal: Use screws or rivets to firmly secure the gutters and downspouts, ensuring they are tightly sealed to prevent any leaks.
Frequently Asked Questions
What is the anatomy of a roof?
What are the main components of the anatomy of a roof?
What is the purpose of the underlayment in the anatomy of a roof?
How do shingles contribute to the anatomy of a roof?
What is the role of flashing in the anatomy of a roof?
How does proper maintenance affect the anatomy of a roof?
Sedona New Year roof checkup: quick signs to spot, what to notice inside, and when to book a professional roof inspection.

Holiday weather has a way of showing up at the worst time. People are traveling. Family is in town. The house is busy. And if your roof has a weak spot, that’s when you notice it. Most winter roof lea…
A metal shingle roof is a metal roof that goes on in small pieces, not long panels. The shingles overlap as they’re installed, and many systems are made to lock together so the surface stays tight in …

Winter in the Verde Valley isn’t “snow country,” but it’s also not Phoenix. We get cold nights, the occasional dusting, and quick weather swings. Sedona sits up around 4,500–4,800 feet, so freeze-thaw…
Flat roofs do well in Arizona, but winter is when small drainage issues turn into real headaches. It is rarely one big event. It is usually a slow backup at a scupper. A drain that runs fine until lea…
Winter roof preparation: roof maintenance, gutter repair, shingle check and leak prevention for Arizona homes ready for the winter months.
Fall roof maintenance tips for Cottonwood, Arizona homeowners—inspect, clean, and prepare your roof before winter rain and cold set in.
Discover how metal roofs handle Arizona’s extreme heat, monsoons, and hail. Learn why metal roofing is the best choice for homes in Sedona, Prescott, and Cottonwood.
Get your roof ready for autumn in Cottonwood with these expert fall roofing tips. Learn about inspections, debris clearing, attic ventilation, and more!

Wondering if a metal roof is worth it? Compare metal roofs vs. asphalt shingles for Arizona homes, including costs, durability, energy efficiency, and maintenance.