
Roof Flashing 101: Essential Tips for a Watertight Home
December 21, 2023
 What Is Roof Flashing?
Why Is Roof Flashing Important?
 What Are The Different Types Of Roof Flashing?
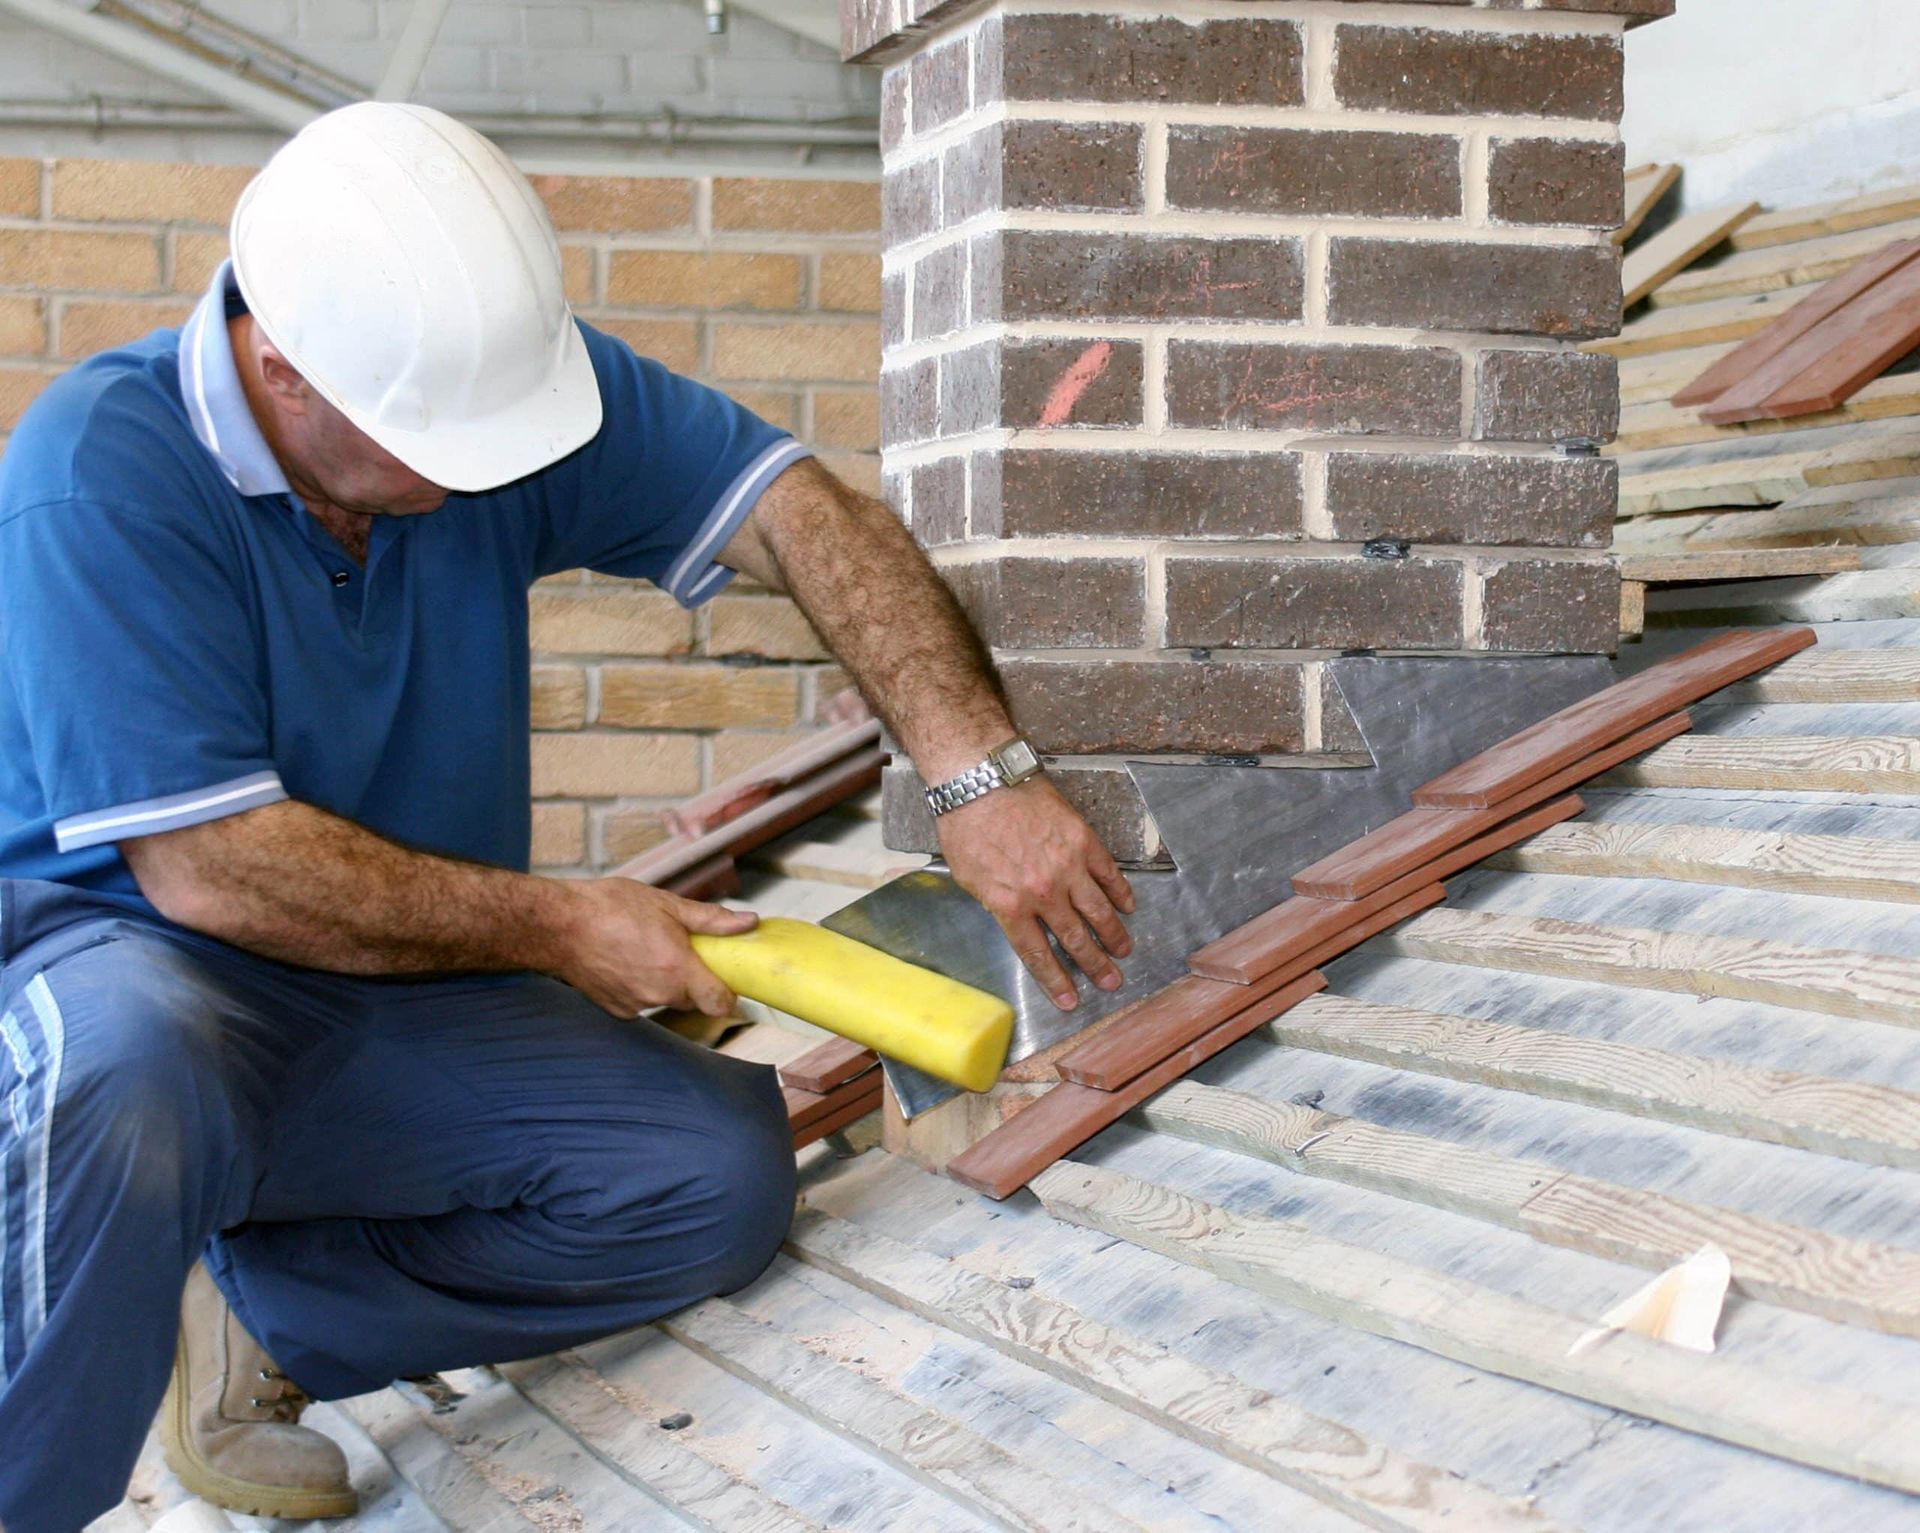
1. Step Flashing
- Begin by measuring and cutting the step flashing pieces to fit along the intersecting area.
- Place the first piece of step flashing against the vertical surface and secure it with nails, ensuring that it overlaps the roof shingles.
- Next, install the following piece of step flashing, overlapping it with the previous one and making sure it extends over the shingles.
- Continue this process until you have installed step flashing along the entire intersection.
- To provide an extra layer of protection against water infiltration, seal the edges of the step flashing with roofing cement.
Fact:
2. Continuous Flashing
- Measure the length of the area where continuous flashing is needed.
- Cut the flashing material to fit the measured length.
- Apply a layer of roofing cement along the edge of the roof where the continuous flashing will be installed.
- Center and level the flashing against the roof edge.
- Secure the flashing in place by evenly nailing it down with roofing nails.
- Add another layer of roofing cement on top of the flashing for added water infiltration protection.
- Smooth out the roofing cement to create a uniform seal.
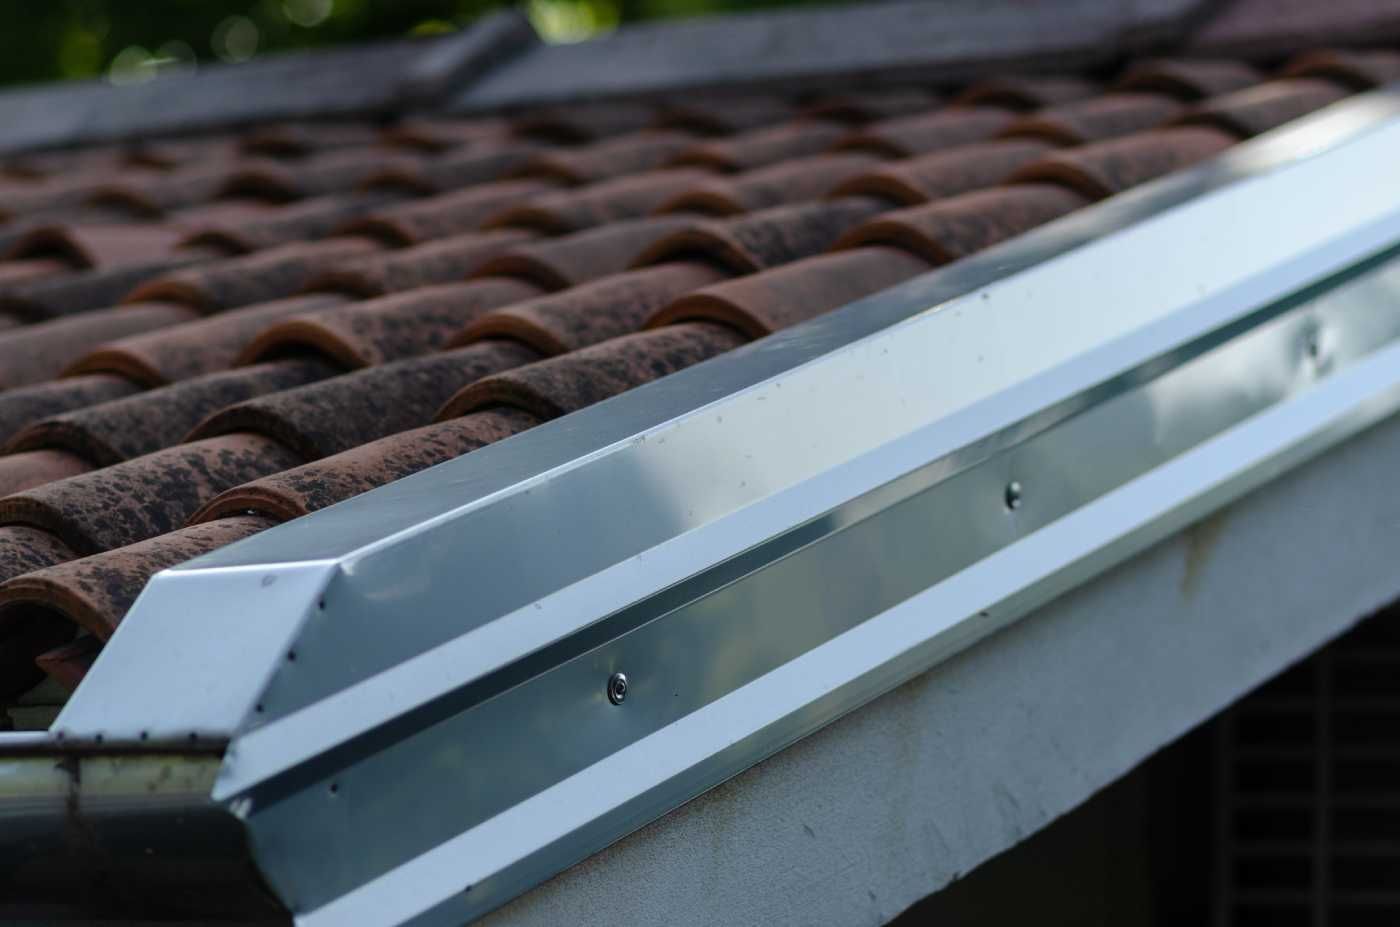
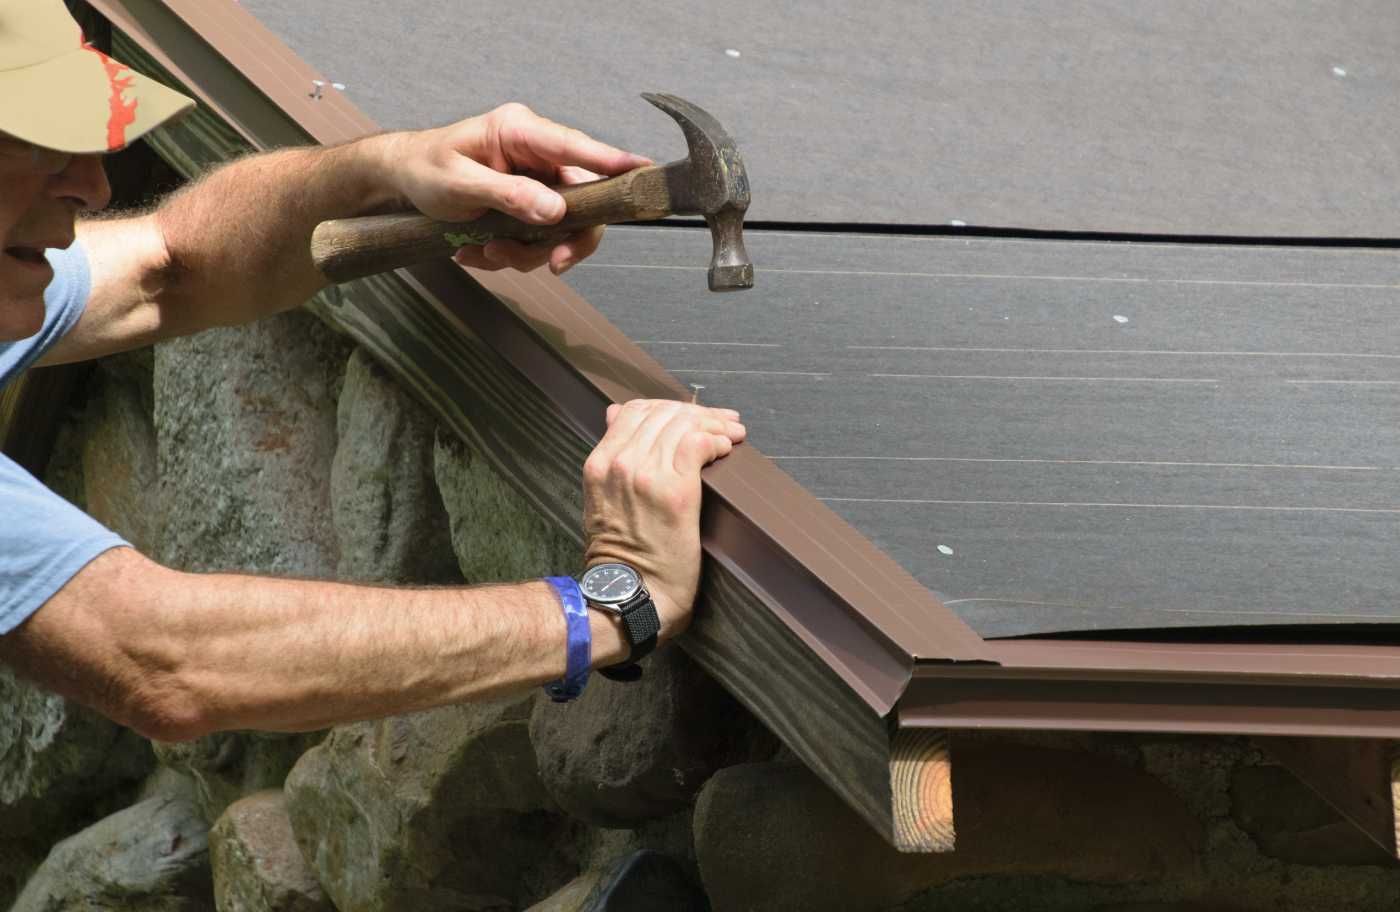
3. Drip Edge Flashing
- Measure the length of the roof edge and cut the drip edge flashing to fit.
- Position the flashing along the roof edge, making sure it extends slightly over the fascia board.
- Secure the flashing in place with roofing nails or screws, spacing them approximately 6 inches apart.
- Overlap each section of flashing by at least 2 inches to create a waterproof seal.
- Continue installing the drip edge flashing along the entire roof edge, ensuring a consistent and secure attachment.
4. Valley Flashing
Valley flashing
- Begin by measuring and cutting the flashing material to the necessary length.
- Thoroughly clean the area where the flashing will be installed, ensuring that it is free from any debris or dirt.
- Apply a layer of roofing sealant along the valley area, making sure to cover the entire length.
- Position the flashing over the sealant, aligning it with the edges of the roof.
- Secure the flashing in place using roofing nails or screws, ensuring a strong attachment.
- Apply another layer of roofing sealant over the edges and seams of the flashing for added protection against water leakage.
- Inspect the installation to ensure it is secure and properly sealed.
5. Vent Pipe Flashing
- Measure the diameter of the vent pipe and mark the center on the roof.
- Cut a hole in the roof deck at the marked center.
- Slide the vent pipe flashing over the vent pipe, making sure it fits tightly.
- Apply roofing cement to the underside of the flashing.
- Secure the flashing by nailing it to the roof deck.
- Apply a layer of roofing cement around the base of the flashing to create a watertight seal.
- Install shingles or other roofing material over the flashing, ensuring proper overlap.
 What Materials Are Used For Roof Flashing?
- Galvanized steel: This is a popular choice due to its affordability and resistance to corrosion.
- Aluminum: Lightweight and resistant to rust, it is often used in coastal areas.
- Copper: Highly durable and aesthetically pleasing, copper flashing is commonly used in historic and high-end buildings.
- Lead: Known for its malleability, lead flashing is often used in intricate roof designs. Since it's made of lead, which is toxic, its use is limited in some states.
- EPDM: A synthetic rubber material that offers excellent resistance to UV rays and weathering.
What Are The Signs That Roof Flashing Needs To Be Replaced?
- Leaks: If you notice water stains or signs of water infiltration, it could be a clear indication that the flashing has been compromised.
- Rust or corrosion: The presence of rust or corrosion on the flashing is a definite sign that it should be replaced.
- Missing flashing: Any gaps or missing sections of flashing should be addressed immediately, as they are a clear sign that replacement is necessary.
- Damaged caulking: Cracked or deteriorated caulking around the flashing can lead to leaks and should be promptly addressed.
How Can You Prevent Roof Flashing Issues?
- Regularly inspect the flashing for any signs of damage or deterioration.
- Maintain cleanliness by keeping the flashing free from debris and blockages.
- Ensure proper installation with correct overlap and secure attachment.
- Invest in high-quality flashing materials that are durable and resistant to corrosion.
- Address any issues promptly to prevent further damage.
Frequently Asked Questions
What is roof flashing?
Why is roof flashing important?
What are the different types of roof flashing?
How long does roof flashing last?
Can I install roof flashing myself?
How can I maintain my roof flashing?
Sedona New Year roof checkup: quick signs to spot, what to notice inside, and when to book a professional roof inspection.
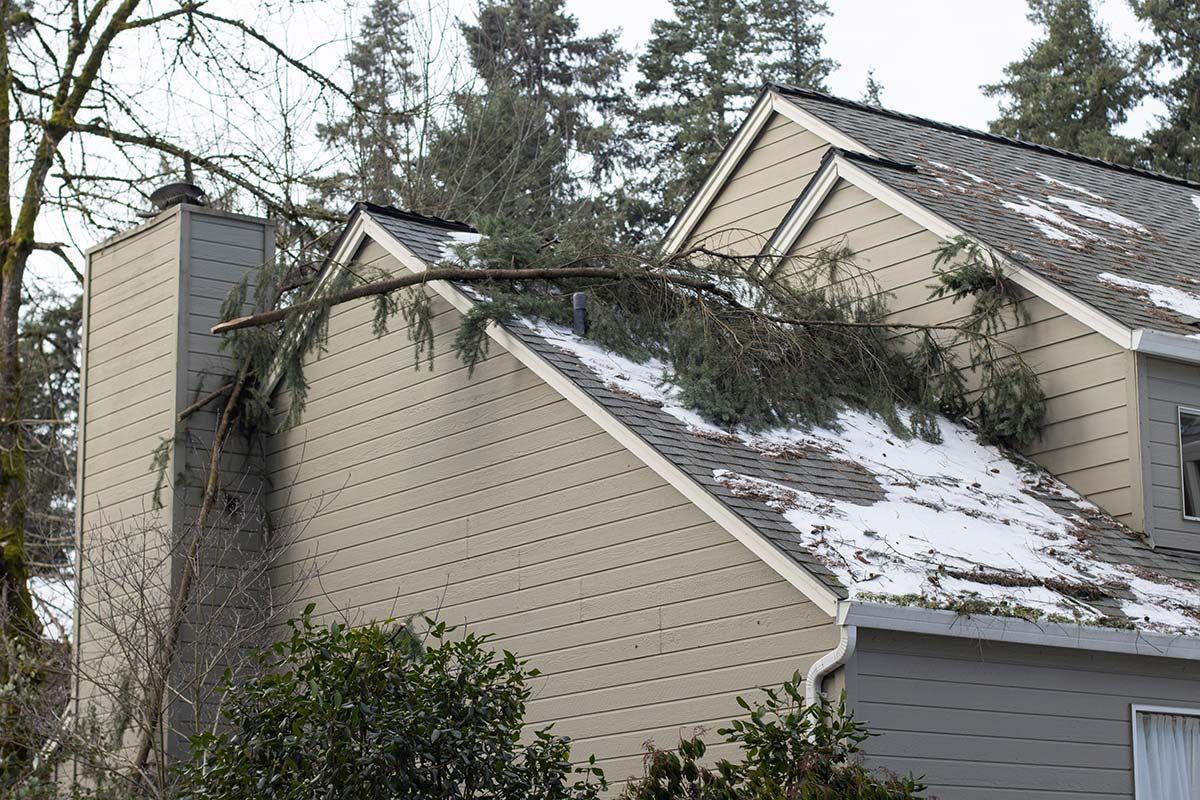
Holiday weather has a way of showing up at the worst time. People are traveling. Family is in town. The house is busy. And if your roof has a weak spot, that’s when you notice it. Most winter roof lea…
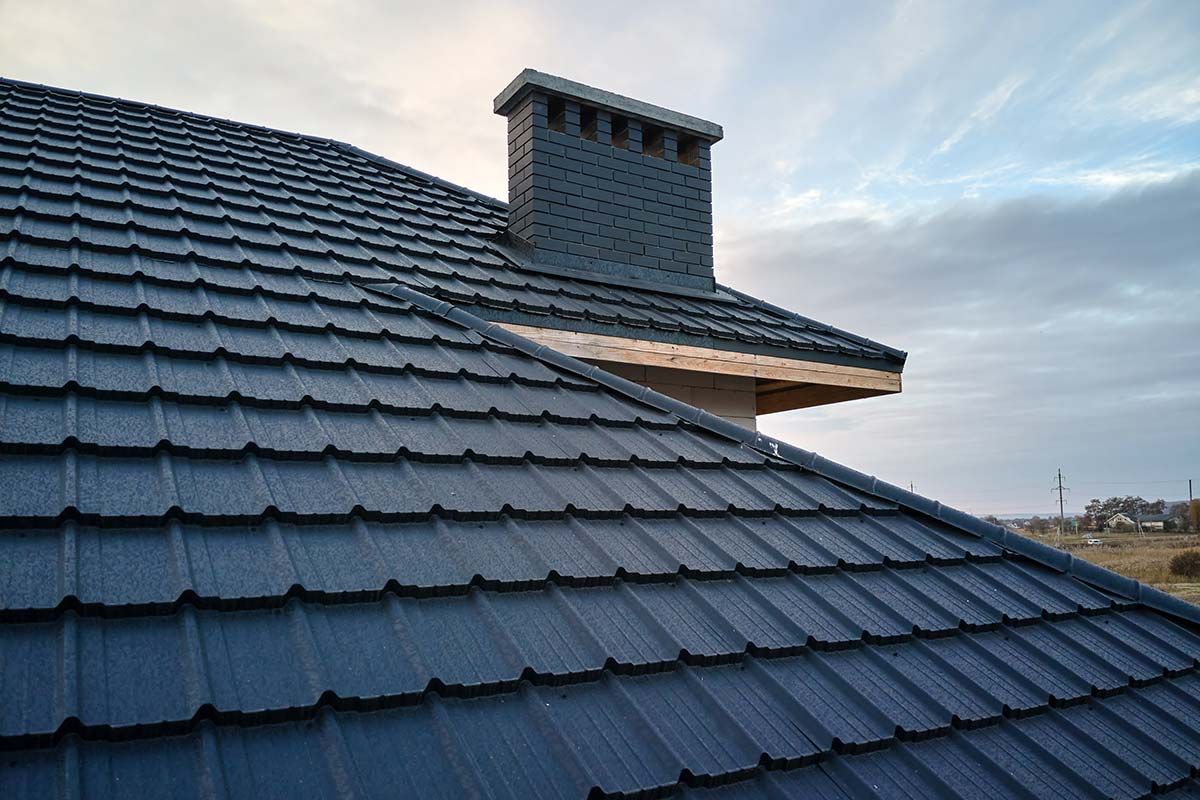
A metal shingle roof is a metal roof that goes on in small pieces, not long panels. The shingles overlap as they’re installed, and many systems are made to lock together so the surface stays tight in …

Winter in the Verde Valley isn’t “snow country,” but it’s also not Phoenix. We get cold nights, the occasional dusting, and quick weather swings. Sedona sits up around 4,500–4,800 feet, so freeze-thaw…
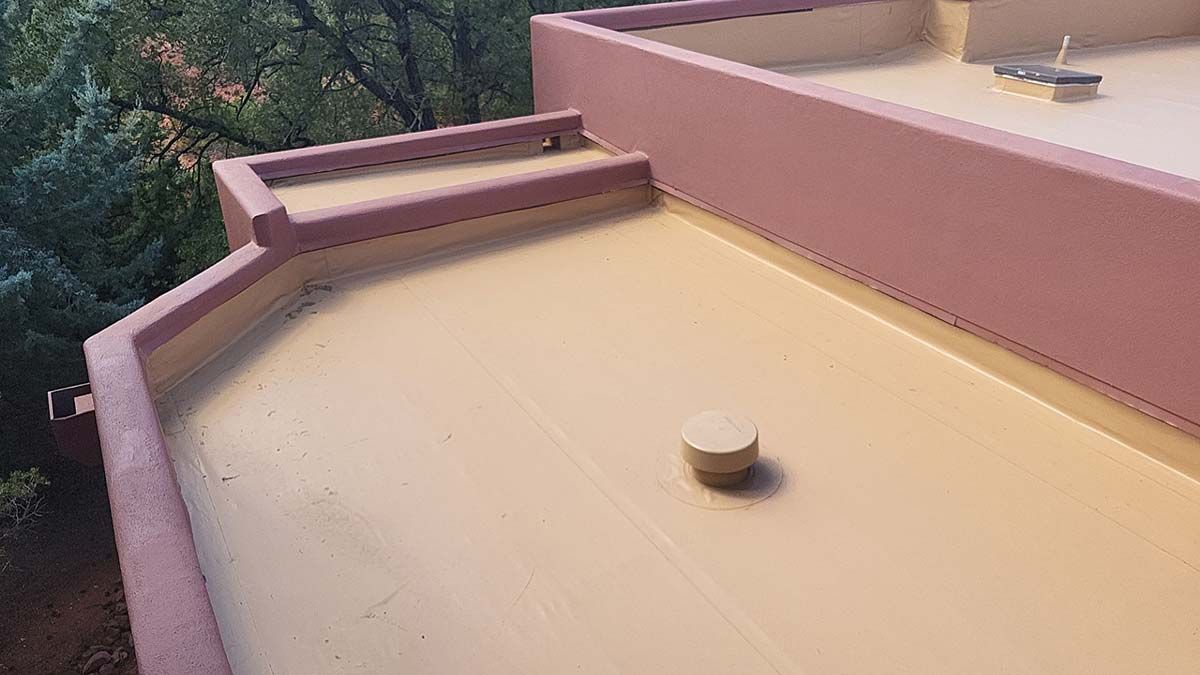
Flat roofs do well in Arizona, but winter is when small drainage issues turn into real headaches. It is rarely one big event. It is usually a slow backup at a scupper. A drain that runs fine until lea…
Winter roof preparation: roof maintenance, gutter repair, shingle check and leak prevention for Arizona homes ready for the winter months.
Fall roof maintenance tips for Cottonwood, Arizona homeowners—inspect, clean, and prepare your roof before winter rain and cold set in.
Discover how metal roofs handle Arizona’s extreme heat, monsoons, and hail. Learn why metal roofing is the best choice for homes in Sedona, Prescott, and Cottonwood.
Get your roof ready for autumn in Cottonwood with these expert fall roofing tips. Learn about inspections, debris clearing, attic ventilation, and more!

Wondering if a metal roof is worth it? Compare metal roofs vs. asphalt shingles for Arizona homes, including costs, durability, energy efficiency, and maintenance.