
The Role of Roof Splash Guards
December 18, 2023
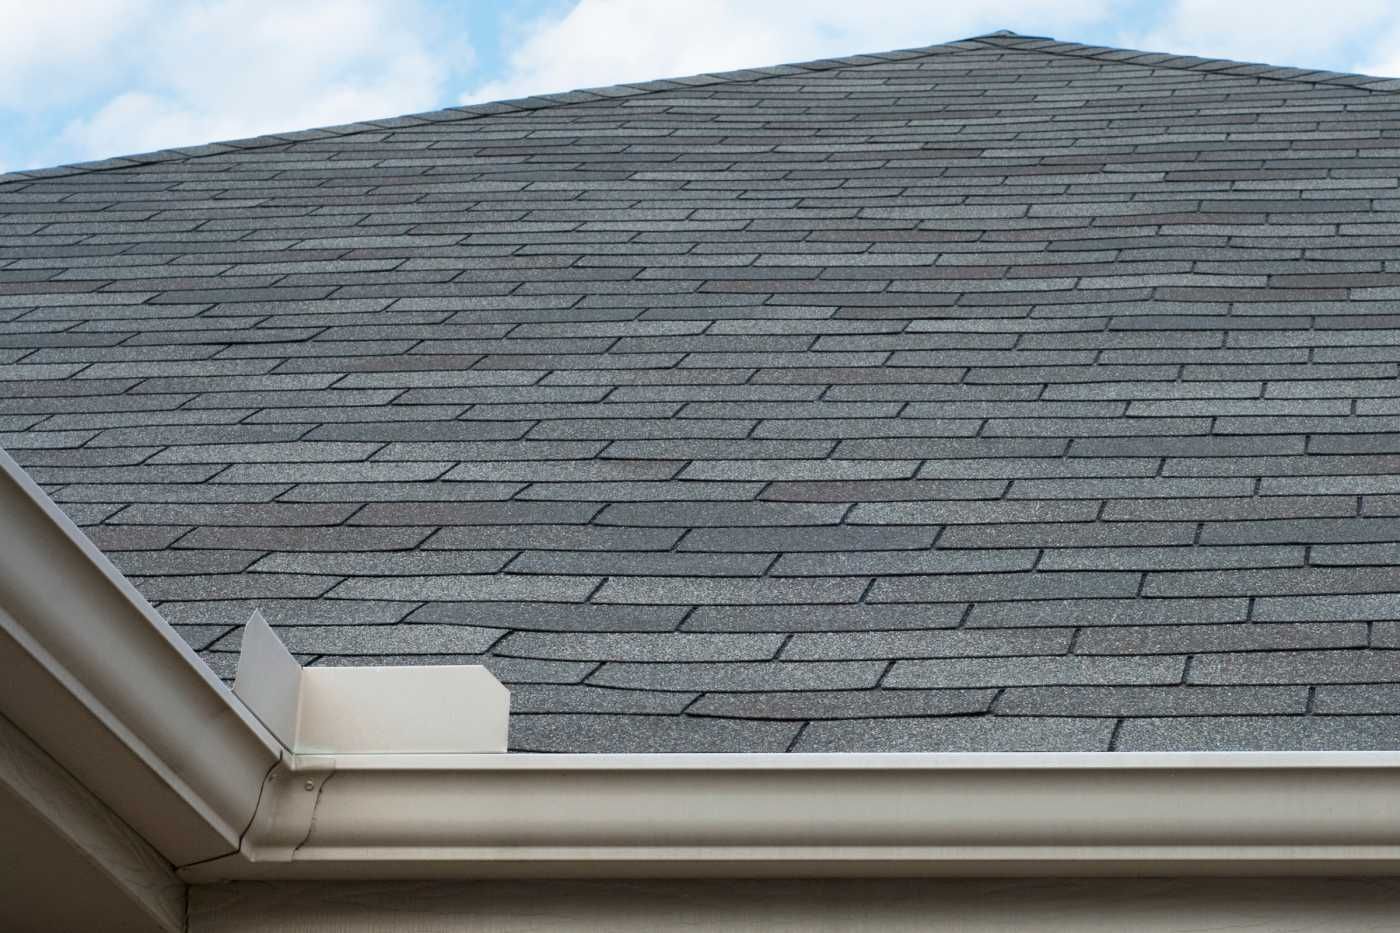 What is a Roof Splash Guard?
Why Do You Need a Roof Splash Guard?
To safeguard your property and avoid costly repairs in the future
What Problems Can a Roof Splash Guard Solve?
- Preventing erosion: Splash guards redirect water away from the foundation, preventing soil erosion and potential damage to the structure.
- Protecting landscaping: By channeling water away from flower beds and plants, splash guards ensure that the landscaping remains intact.
- Minimizing basement leaks: Splash guards prevent excessive water from flowing into the basement, reducing the risk of leaks and water damage.
- Preserving the foundation: By managing water runoff, splash guards help maintain the integrity of the foundation, preventing cracks and structural issues.
- Preventing mold and mildew: By redirecting water away from the walls, splash guards help prevent the growth of mold and mildew.
What Are the Different Types of Roof Splash Guards?
1. Gutter Splash Guard
- Measure and cut the splash guard to fit the length of your gutter.
- Thoroughly clean the roof and gutter to ensure proper adhesion.
- Position the splash guard at the edge of the gutter and install it on the roof.
- Secure the splash guard to the gutter using screws or adhesive.
2. Roof Diverter
- Start by measuring and marking the desired location for the diverter on the roof.
- Ensure that the roof is clean and dry, free from any debris.
- Carefully place the roof diverter in the marked location, making sure it is level.
- Secure the diverter to the roof using screws or nails.
- Connect the downspout or drainage system to the diverter to direct the water flow.
3. Roof Valley Splash Guard
- Measure the length of the roof valley and cut the splash guard to fit.
- Clean the roof and gutter to ensure proper adhesion of the splash guard.
- Install the splash guard on the roof valley, making sure it covers the entire length.
- Secure the splash guard to the gutter using screws or adhesive.
4. Downspout Splash Guard
- Measure and assess the necessary length for the downspout splash guard.
- Clean the area around the downspout and ensure it is free from any debris.
- Attach the downspout splash guard securely to the downspout.
- Secure the splash guard to the wall or ground to prevent any movement.
More detailed roof splash cutter installation ideas
1. Measure and Cut the Splash Guard
- Using a measuring tape, measure the length of the area where you want to install the splash guard.
- Transfer the measurements onto the splash guard material, marking the desired length.
- Using a straight edge or ruler, create a straight line across the material to represent the cut line.
- Carefully cut along the marked line using a saw, tin snips, or a hacksaw, depending on the material of the splash guard.
2. Clean the Roof and Gutter
- Clear debris: Remove any leaves, twigs, or other debris from the roof and gutter.
- Sweep or brush: Use a broom or brush to sweep away dirt and loose particles from the roof surface.
- Inspect for damage: Check for any signs of damage, such as loose shingles or cracked tiles.
- Clean gutters: Use a scoop or trowel to remove any leaves, dirt, or blockages from the gutters.
- Flush with water: Use a hose to flush out the gutters and downspouts, ensuring proper water flow.
- Remove stains: For stubborn stains or discoloration, consider using a roof cleaner or a mixture of water and mild detergent.
- Rinse: Thoroughly rinse the roof and gutters with clean water to remove any remaining residue.
3. Install the Splash Guard on the Roof
- Measure and cut the splash guard to the desired length.
- Clean the roof and gutter to ensure a clean surface for installation.
- Position the splash guard on the roof, aligning it with the edge.
- Secure the splash guard to the roof using screws or adhesive.
- Attach the bottom edge of the splash guard to the gutter, ensuring a snug fit.
4. Secure the Splash Guard to the Gutter
- Place the splash guard against the gutter, making sure it is aligned correctly.
- Use screws or nails to secure the splash guard to the gutter, evenly spacing them along the length of the guard.
- For added stability, consider using adhesive or sealant to attach the splash guard to the gutter.
- Repeat this process for each section of the splash guard, ensuring a secure attachment to the gutter throughout.
Fact:
 What Materials Are Used for Roof Splash Guards?
1. Aluminum
- Lightweight: Aluminum is lightweight, making it easier to handle and install.
- Durable: It is highly resistant to rust, corrosion, and weathering, ensuring a long lifespan.
- Cost-effective: Aluminum splash guards are affordable and provide excellent value for money.
- Easy maintenance: They require minimal maintenance, saving you time and effort.
2. Plastic
- Measure and cut the plastic splash guard to the desired length.
- Clean the roof and gutter to ensure proper adhesion.
- Install the splash guard on the roof, positioning it to catch water runoff.
- Secure the splash guard to the gutter with screws or adhesive.
3. Copper
- Measure and cut the copper splash guard to fit the desired area.
- Clean the roof and gutter before installation to ensure proper adhesion.
- Install the copper splash guard on the roof, aligning it with the edge to prevent water from overshooting.
- Secure the splash guard to the gutter using screws or clips to ensure stability.
- Regularly clean and inspect the copper splash guard to remove debris and prevent clogs.
- Repair or replace any damaged copper splash guards to maintain their effectiveness.
- Consider installing gutter guards to further protect the copper splash guard and prevent debris accumulation.
4. Stainless Steel
stainless steel splash guards
How Can You Maintain Your Roof Splash Guard?
1. Regular Cleaning and Inspection
- Remove any debris or leaves that may have accumulated on the splash guard.
- Inspect the guard for any signs of damage, such as cracks or loose fasteners.
- Clean the guard using a mild detergent and a soft brush or cloth.
- Rinse the guard thoroughly with water to remove any soap residue.
- Check the surrounding area for any signs of water damage or leaks.
- Repeat this cleaning and inspection process at least once a year.
2. Repair or Replace Damaged Splash Guards
- Inspect the damage: Identify any cracks, breaks, or missing parts in the splash guard.
- Remove the damaged guard: Unscrew or detach the damaged splash guard from the roof or gutter.
- Measure and cut the replacement: Take measurements of the damaged splash guard to ensure a proper fit for the replacement.
- Install the new guard: Attach the replacement splash guard to the roof or gutter using screws or other appropriate fasteners.
- Secure the guard: Ensure the new splash guard is tightly secured to prevent future damage or detachment.
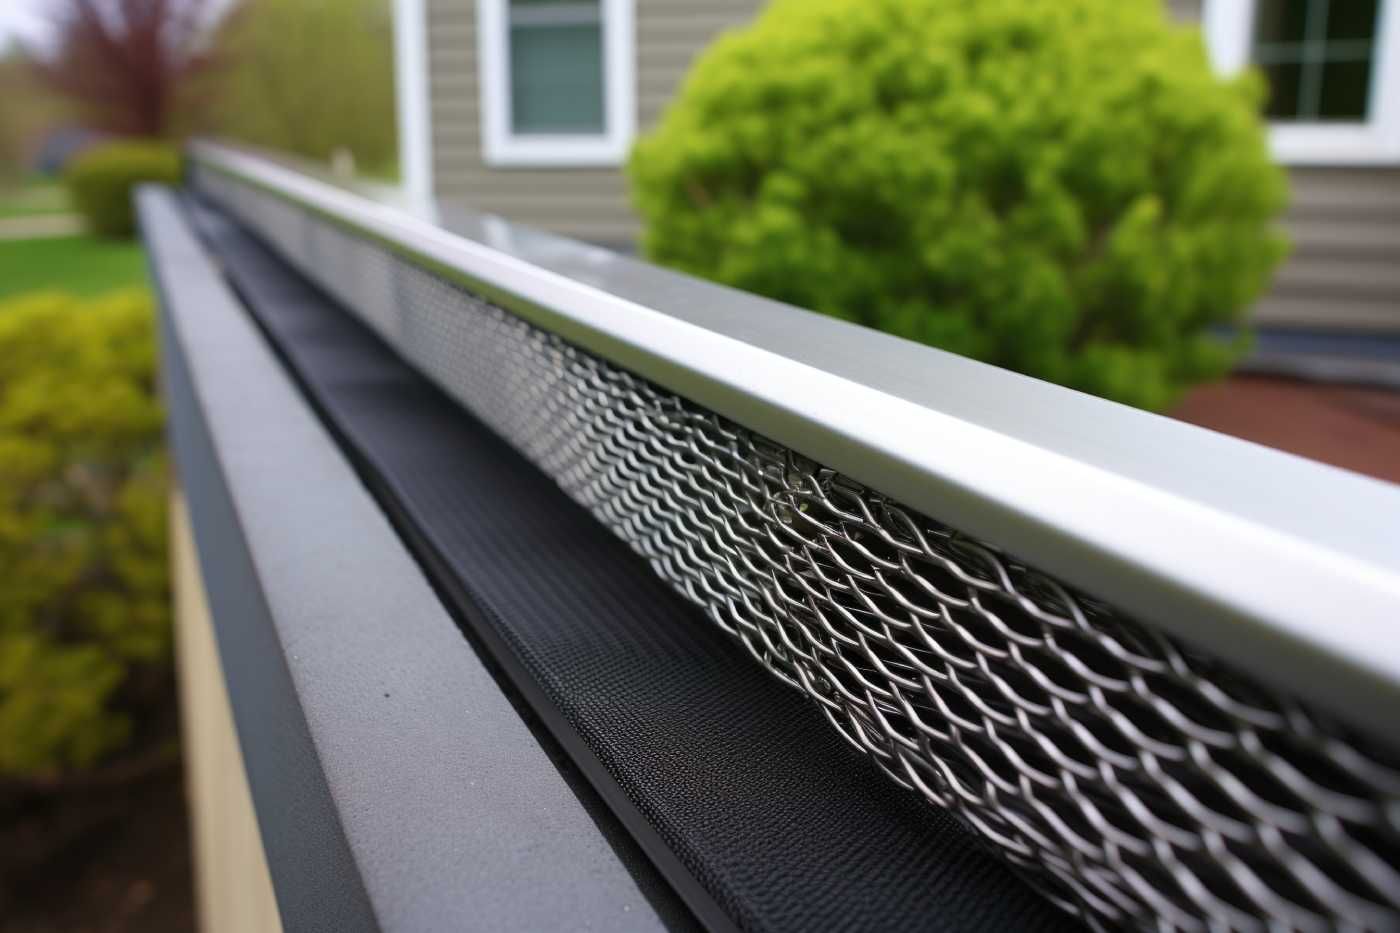
3. Consider Installing Gutter Guards
- Measure and assess the length of your gutters to determine the number of gutter guards needed.
- Choose the type of gutter guard that best suits your needs, such as mesh, screen, or foam guards.
- Clean your gutters thoroughly before installing the gutter guards to ensure proper functionality.
- Install the gutter guards by securely attaching them to the gutter system, following the manufacturer's instructions.
- Regularly inspect and clean the gutter guards to remove any debris or buildup that could hinder their effectiveness.
- If you notice any damage or wear, consider repairing or replacing the gutter guards to maintain optimal performance.
Frequently Asked Questions
What is a roof splash guard?
How does a roof splash guard work?
What are the benefits of installing roof splash guards?
How often should roof splash guards be maintained?
Can I install roof splash guards myself?
What types of materials are used for roof splash guards?
Sedona New Year roof checkup: quick signs to spot, what to notice inside, and when to book a professional roof inspection.
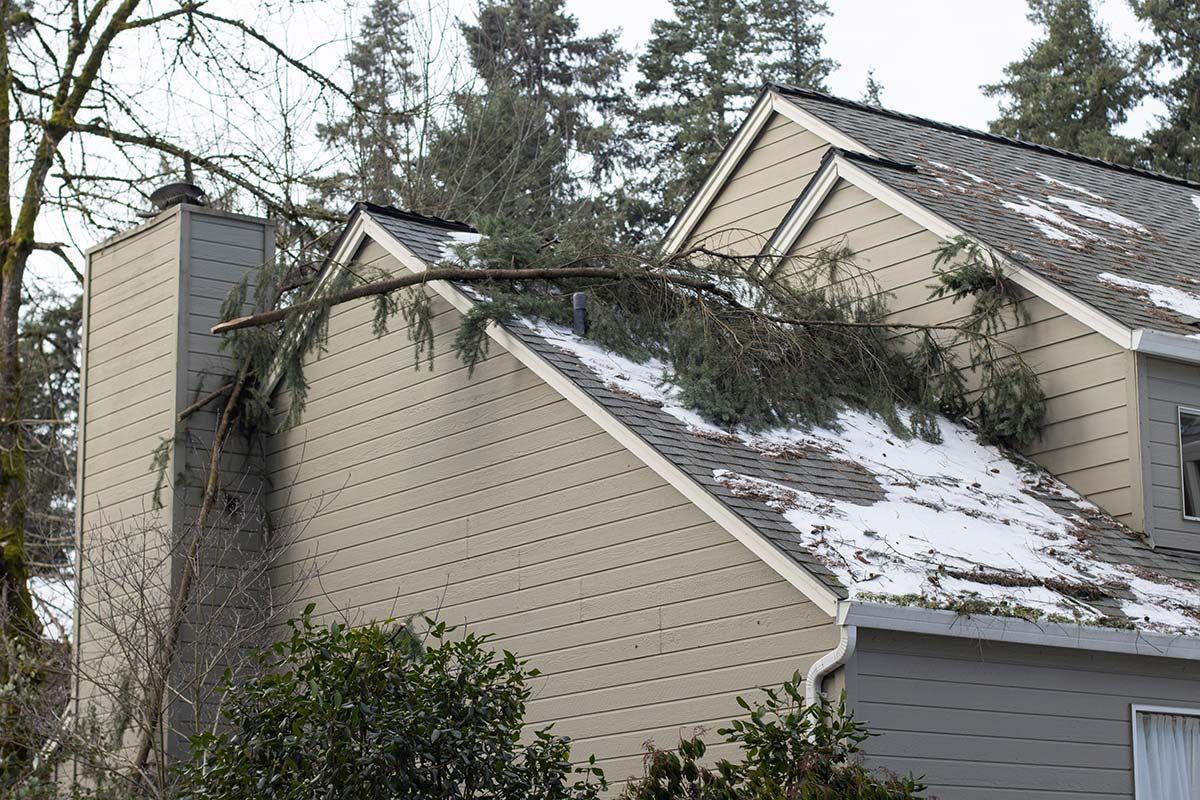
Holiday weather has a way of showing up at the worst time. People are traveling. Family is in town. The house is busy. And if your roof has a weak spot, that’s when you notice it. Most winter roof lea…
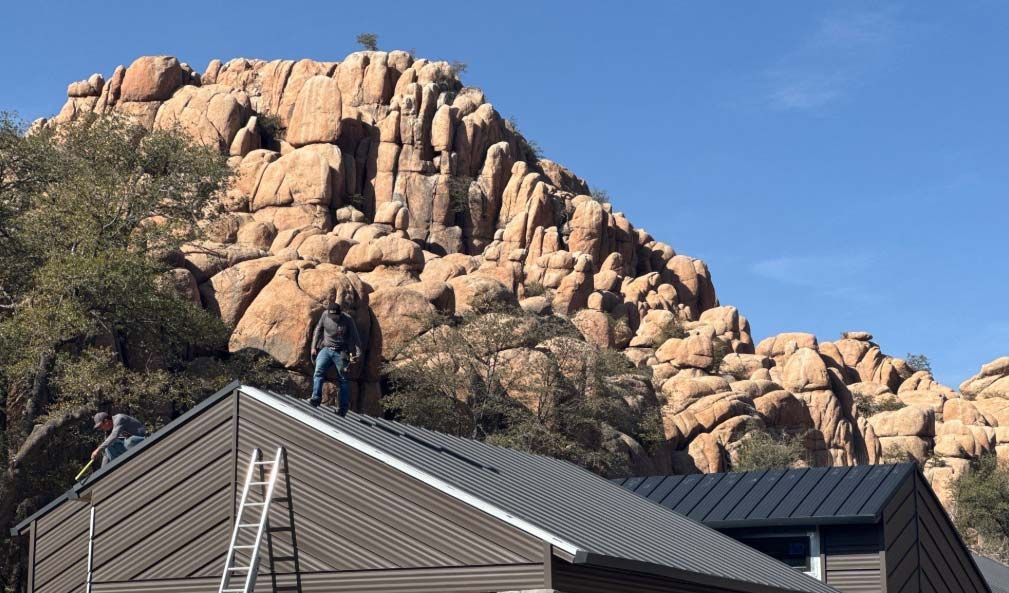
A metal shingle roof is a metal roof that goes on in small pieces, not long panels. The shingles overlap as they’re installed, and many systems are made to lock together so the surface stays tight in …

Winter in the Verde Valley isn’t “snow country,” but it’s also not Phoenix. We get cold nights, the occasional dusting, and quick weather swings. Sedona sits up around 4,500–4,800 feet, so freeze-thaw…
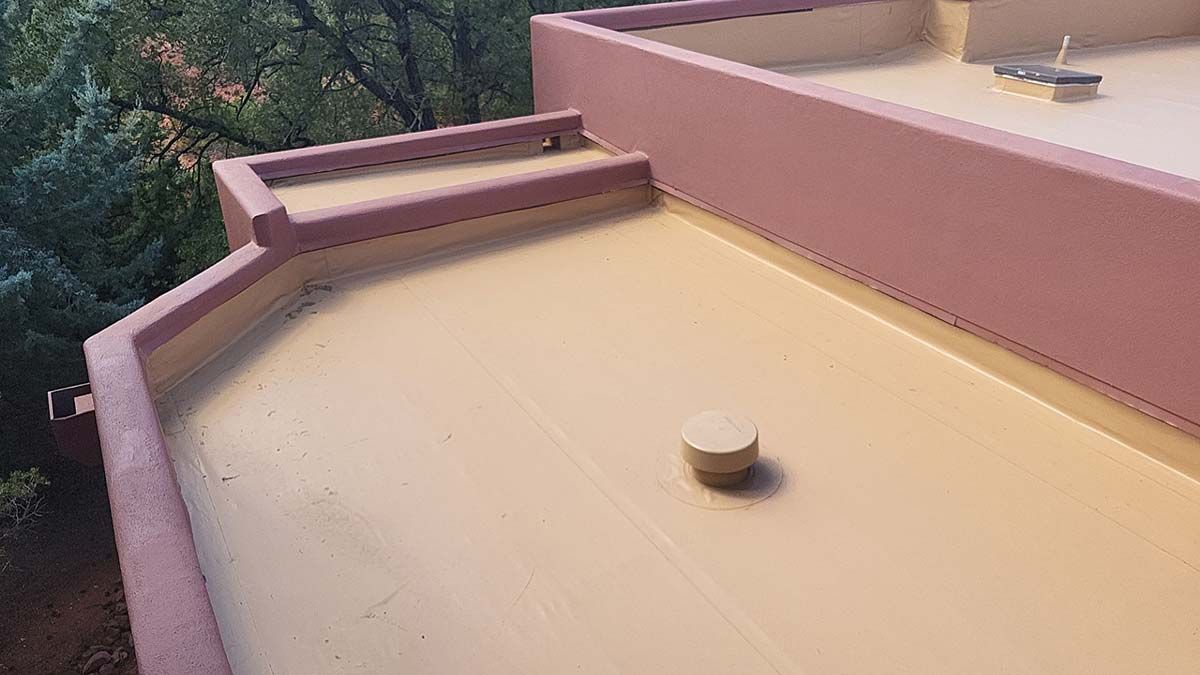
Flat roofs do well in Arizona, but winter is when small drainage issues turn into real headaches. It is rarely one big event. It is usually a slow backup at a scupper. A drain that runs fine until lea…
Winter roof preparation: roof maintenance, gutter repair, shingle check and leak prevention for Arizona homes ready for the winter months.
Fall roof maintenance tips for Cottonwood, Arizona homeowners—inspect, clean, and prepare your roof before winter rain and cold set in.
Discover how metal roofs handle Arizona’s extreme heat, monsoons, and hail. Learn why metal roofing is the best choice for homes in Sedona, Prescott, and Cottonwood.
Get your roof ready for autumn in Cottonwood with these expert fall roofing tips. Learn about inspections, debris clearing, attic ventilation, and more!

Wondering if a metal roof is worth it? Compare metal roofs vs. asphalt shingles for Arizona homes, including costs, durability, energy efficiency, and maintenance.